> For the complete documentation index, see [llms.txt](https://docs.opsmx.com/llms.txt). Markdown versions of documentation pages are available by appending `.md` to page URLs; this page is available as [Markdown](https://docs.opsmx.com/ssd/security-risk-and-prioritization/user-guide/scan-now/model-scan.md).
# Model Scan
The AI Model scan option is added as part of the Adhoc scan. The ability to scan AI/ML Models published on HuggingFace using NBDefence and Garak tools is added as part of this scan option.
### To Access Model Scan
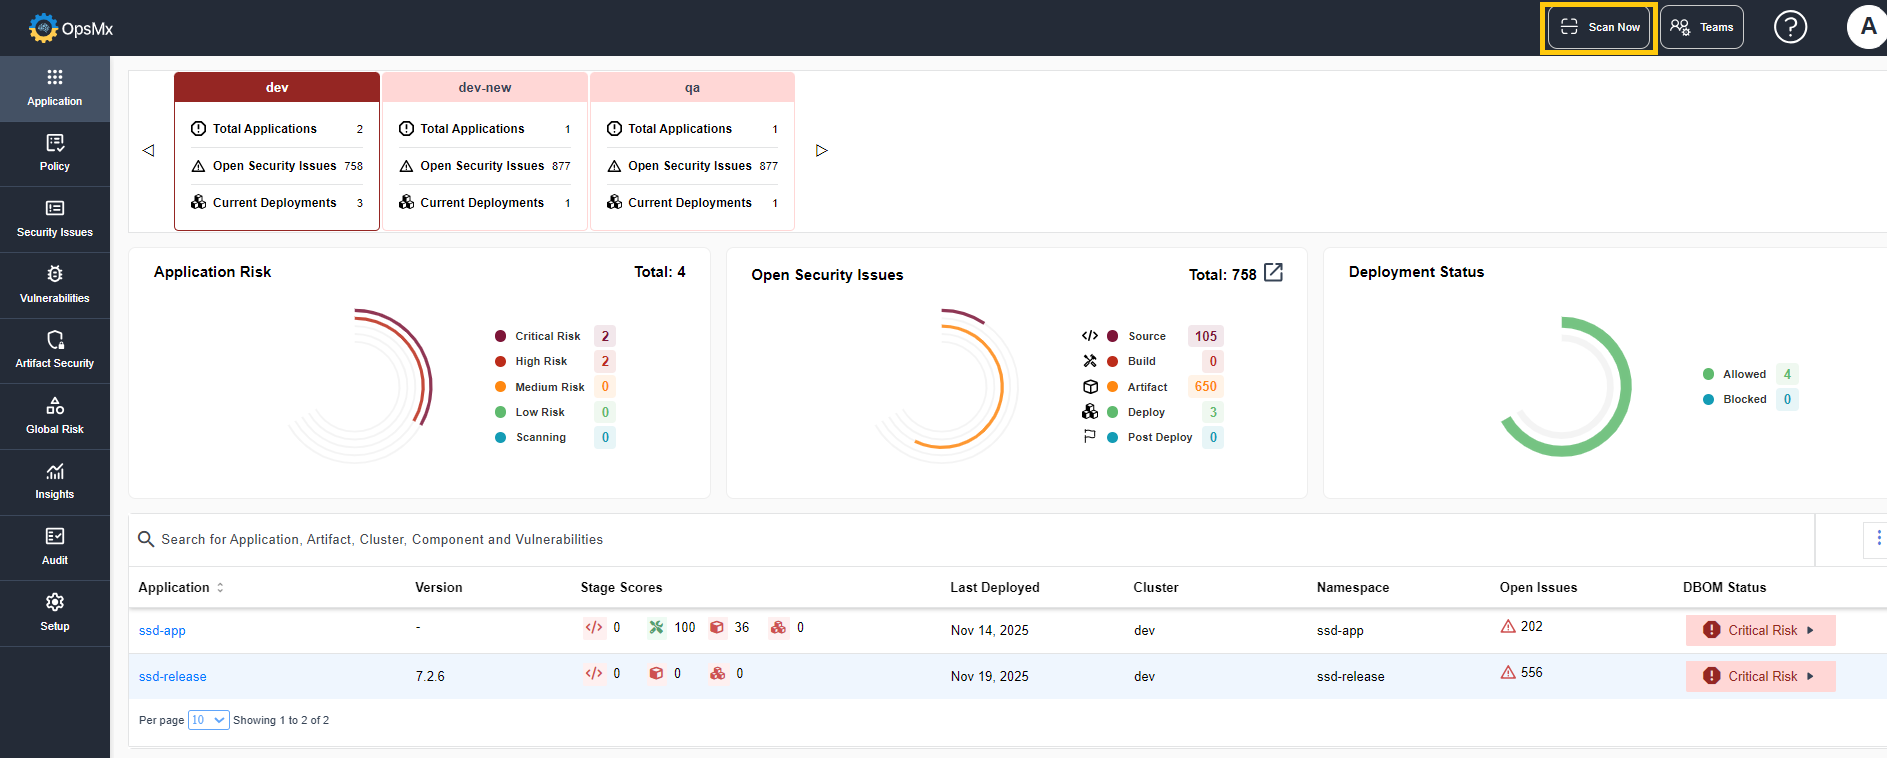
* Click on **Scan Now** button at the top right corner of the screen.
* In the screen that appears, select **Model Scan** from the left panel.
### To Add a Project
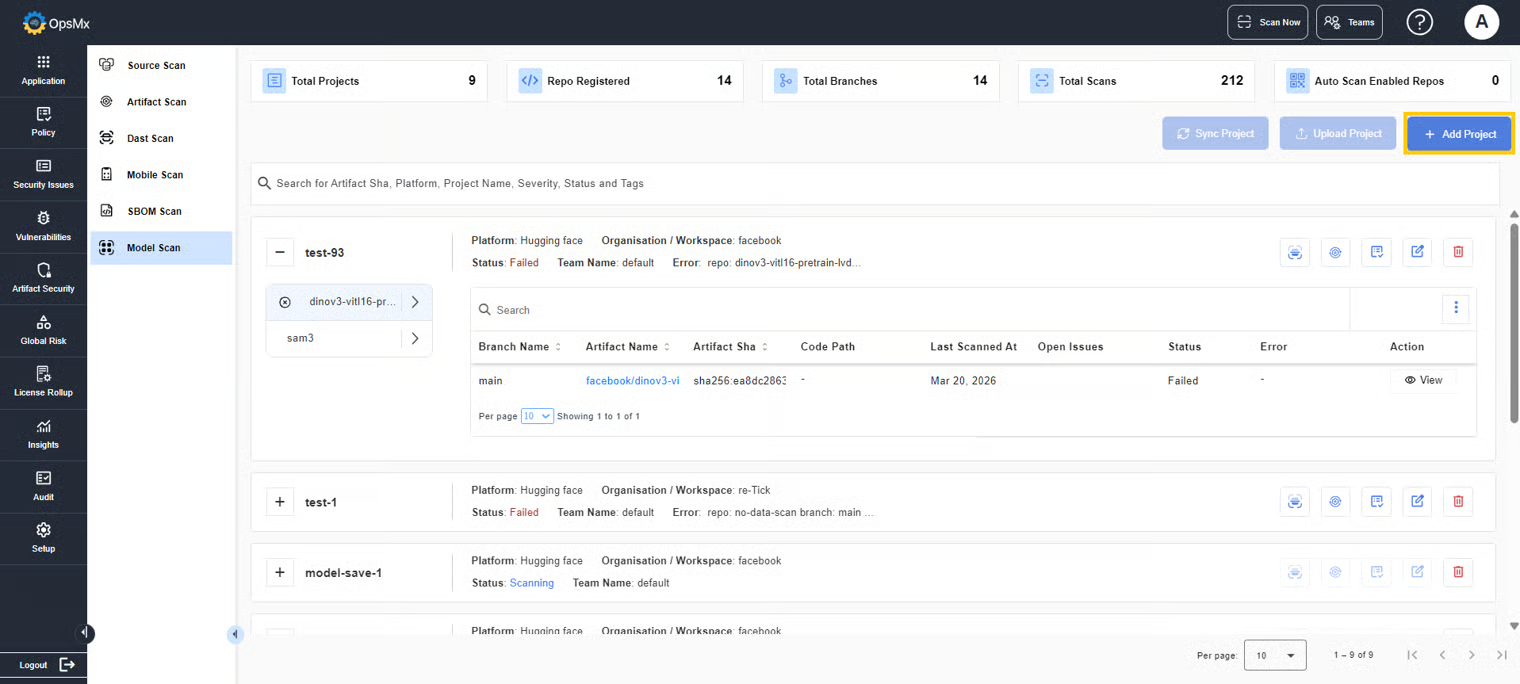
* To add or update a new project with model scan configurations, for scanning, click **Add Project**.
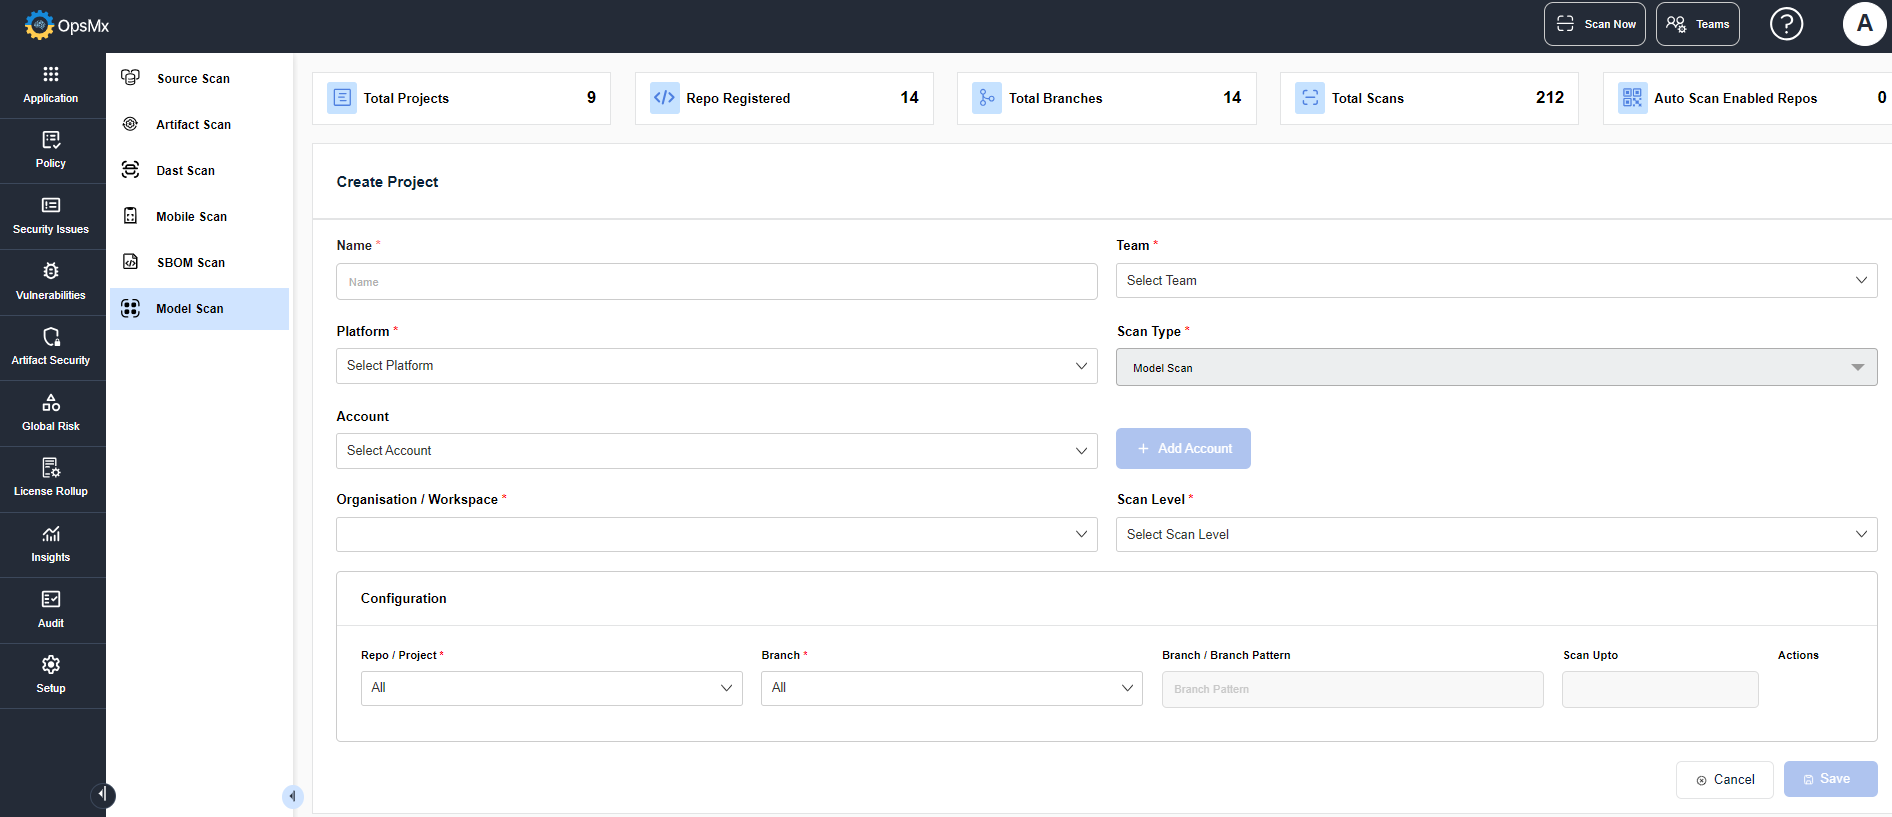
* The **Create Project** details page is displayed as shown below. Enter the details for the following fields:
* **Name** : Enter a name for the project.
* **Team** : Select the team for which you want to create the project.
* **Scan Type** : The default type is Source Scan.
* **Platform** : Select the platform type, the platform where the code resides (Github, Gitlab Server, Bitbucket, Bitbucket Server, Azure, Azure Server) for the project.
* **Account** : Choose the needed account that has been integrated for the selected platform. If no account is available for the selected platform then click **Add Account**.
* The integration page is displayed. You can add a new account.
* **Organization / Workspace** : Choose the organization or workspace that the selected account has access to.
* **Scan Level** : Select the scan level; either organization level or repository level that needs to be scanned.
* **Configuration** : Set the configuration details, and schedule the auto scan time.
* Repo /Project : Select the repo or project name for which the scan needs to be executed.
* Branch : Select the branch name for which the scan needs to be executed.
* Branch Pattern : Select the branch pattern for which the scan needs to be executed.
* Scan Upto : Select the branch limit for which the scan needs to be executed. (number of branches to be scanned)
* Schedule Auto Scan : Select the time range during which the scan needs to be rerun automatically.
* Click Save.
The project gets added for scanning.
### To Upload a Project
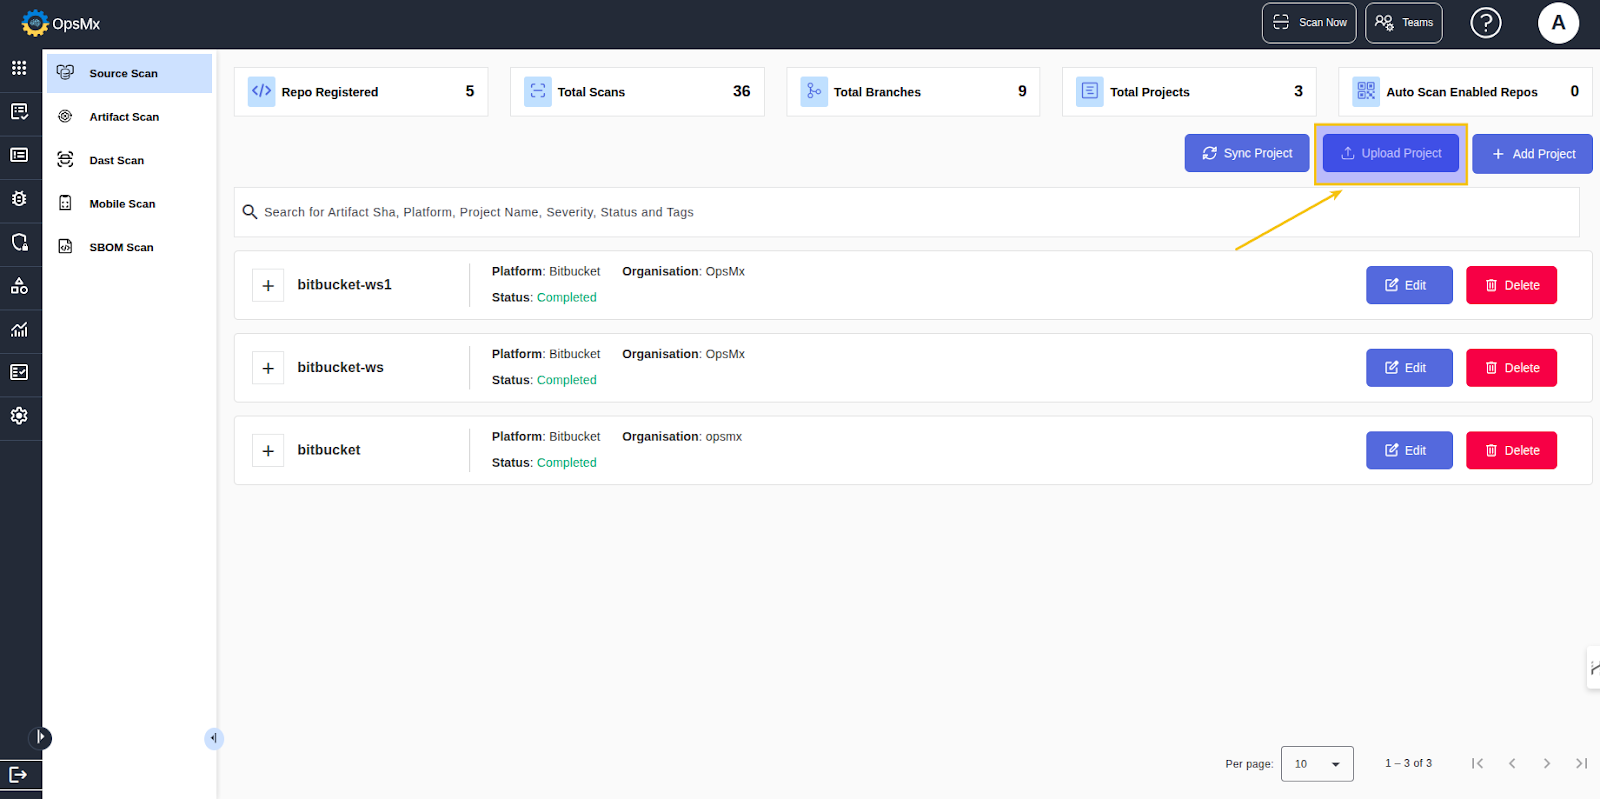
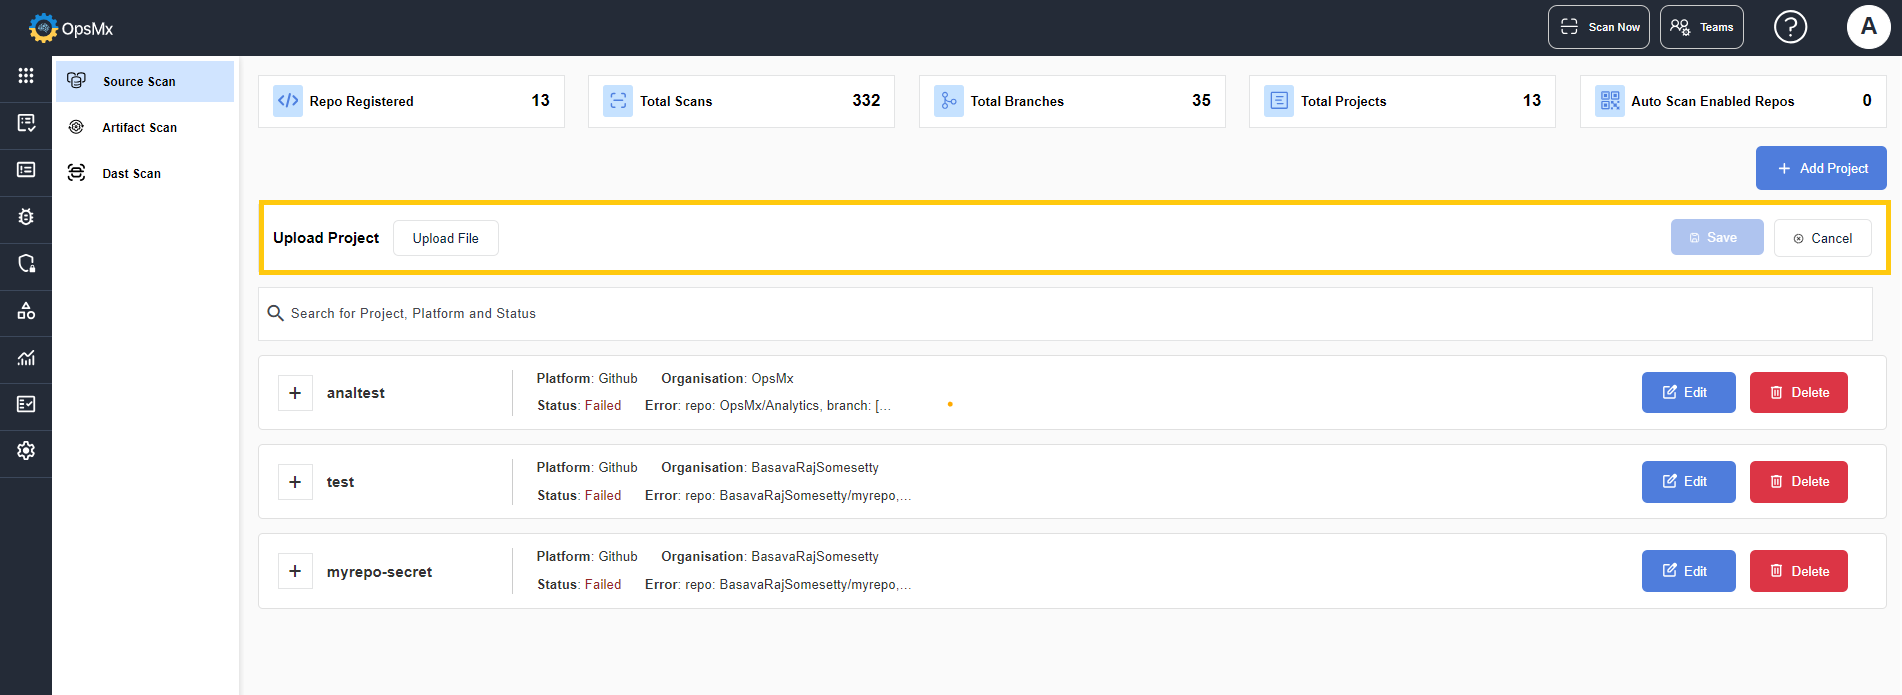
* To upload a project from your local, for scanning, click **Upload Project**.
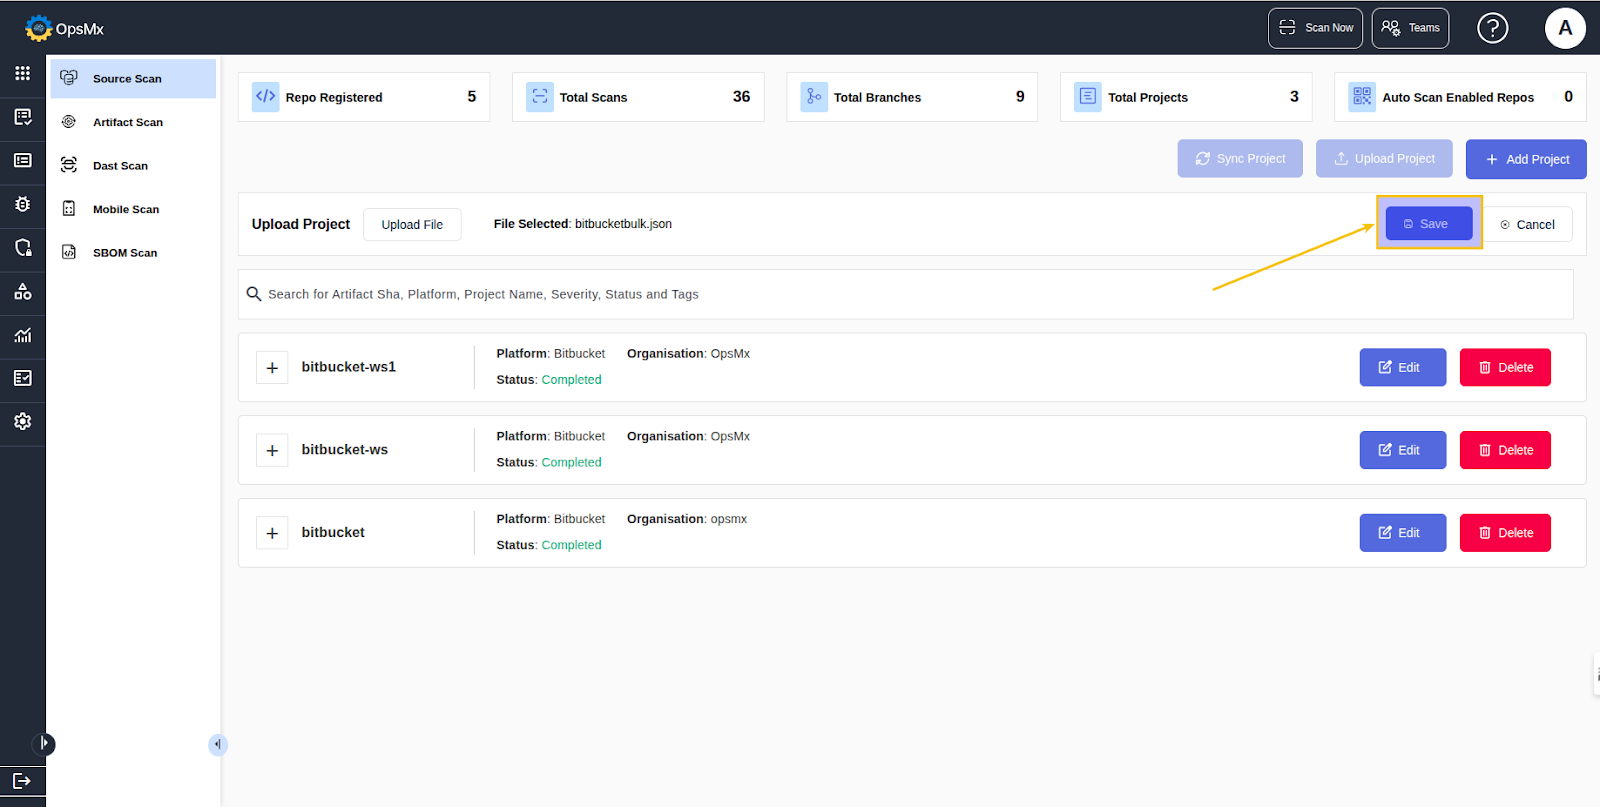
* Click **Upload File** and select the json file that you want to add for scanning.
* Click **Save**.
The file gets added for scanning.
### To View and Interpret Scan Results
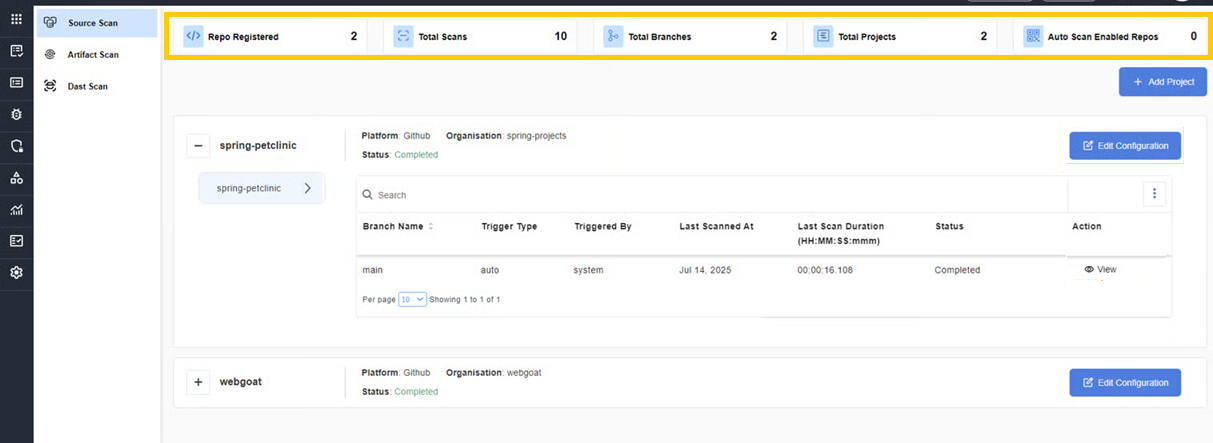
Once the scan is complete, OpsMx generates the overall results and they are displayed as shown below:
* Repos Registered
* Total Branches
* Total Scans
* Total Projects
* Auto Scan Enabled Repos
The panel at the bottom displays the project details. On expanding each project you can view the complete details of it.
{% hint style="info" %}
The current status of the scan (completed, pending or failed) is displayed to notify the status of the project.
{% endhint %}
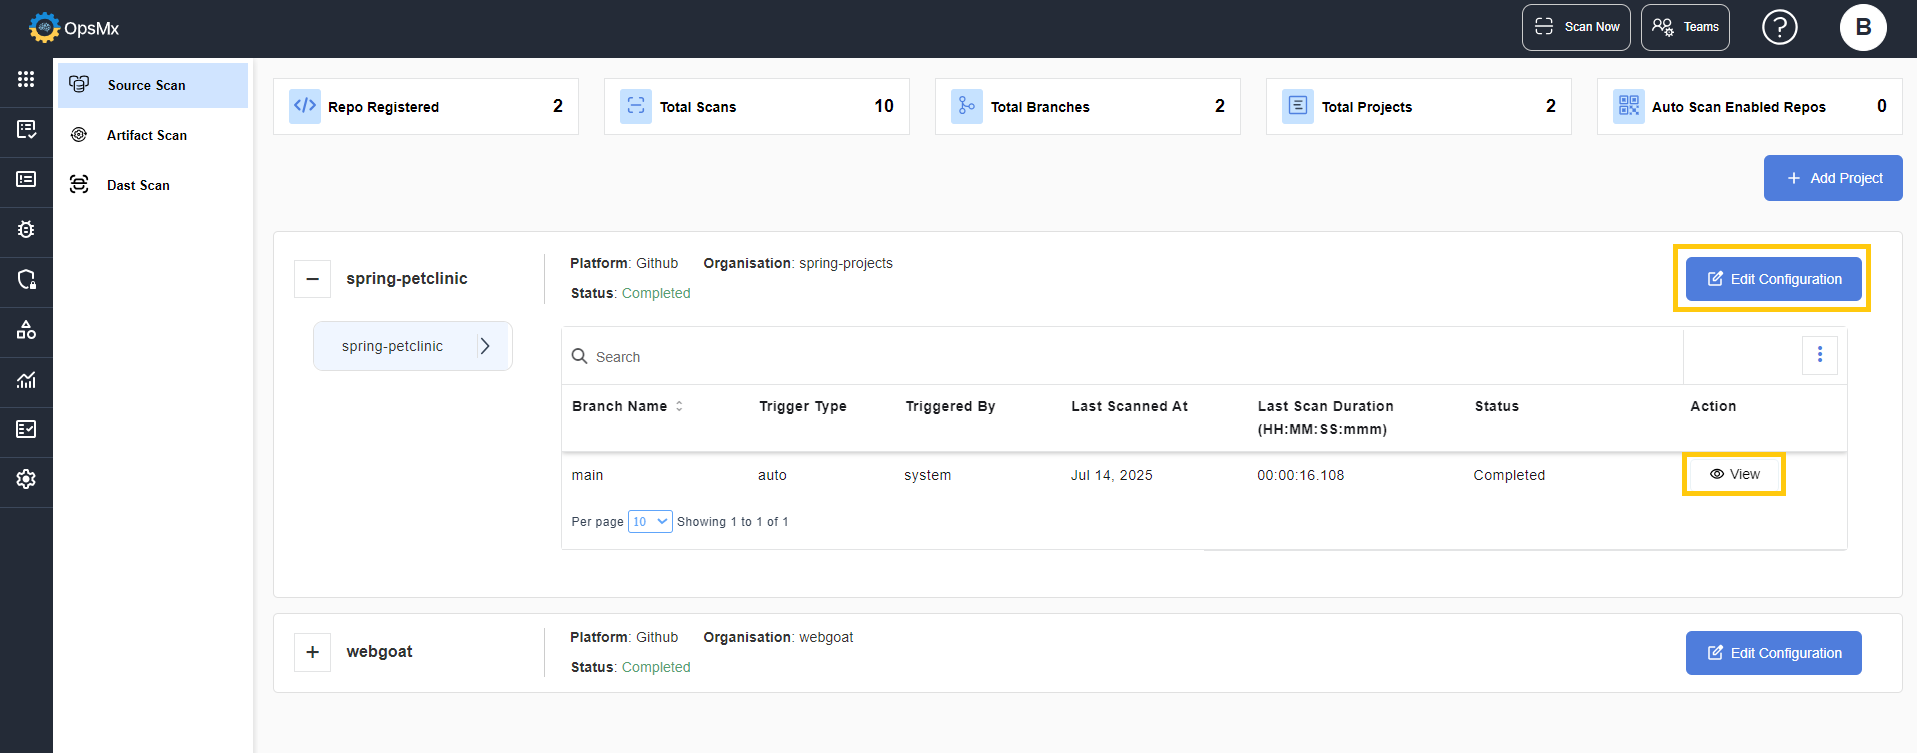
* To edit the configuration details of the project, click the **Edit Configuration** button.
* Click the **View** option in the **Action** button, to view the SAST and SCA scan results of the project.
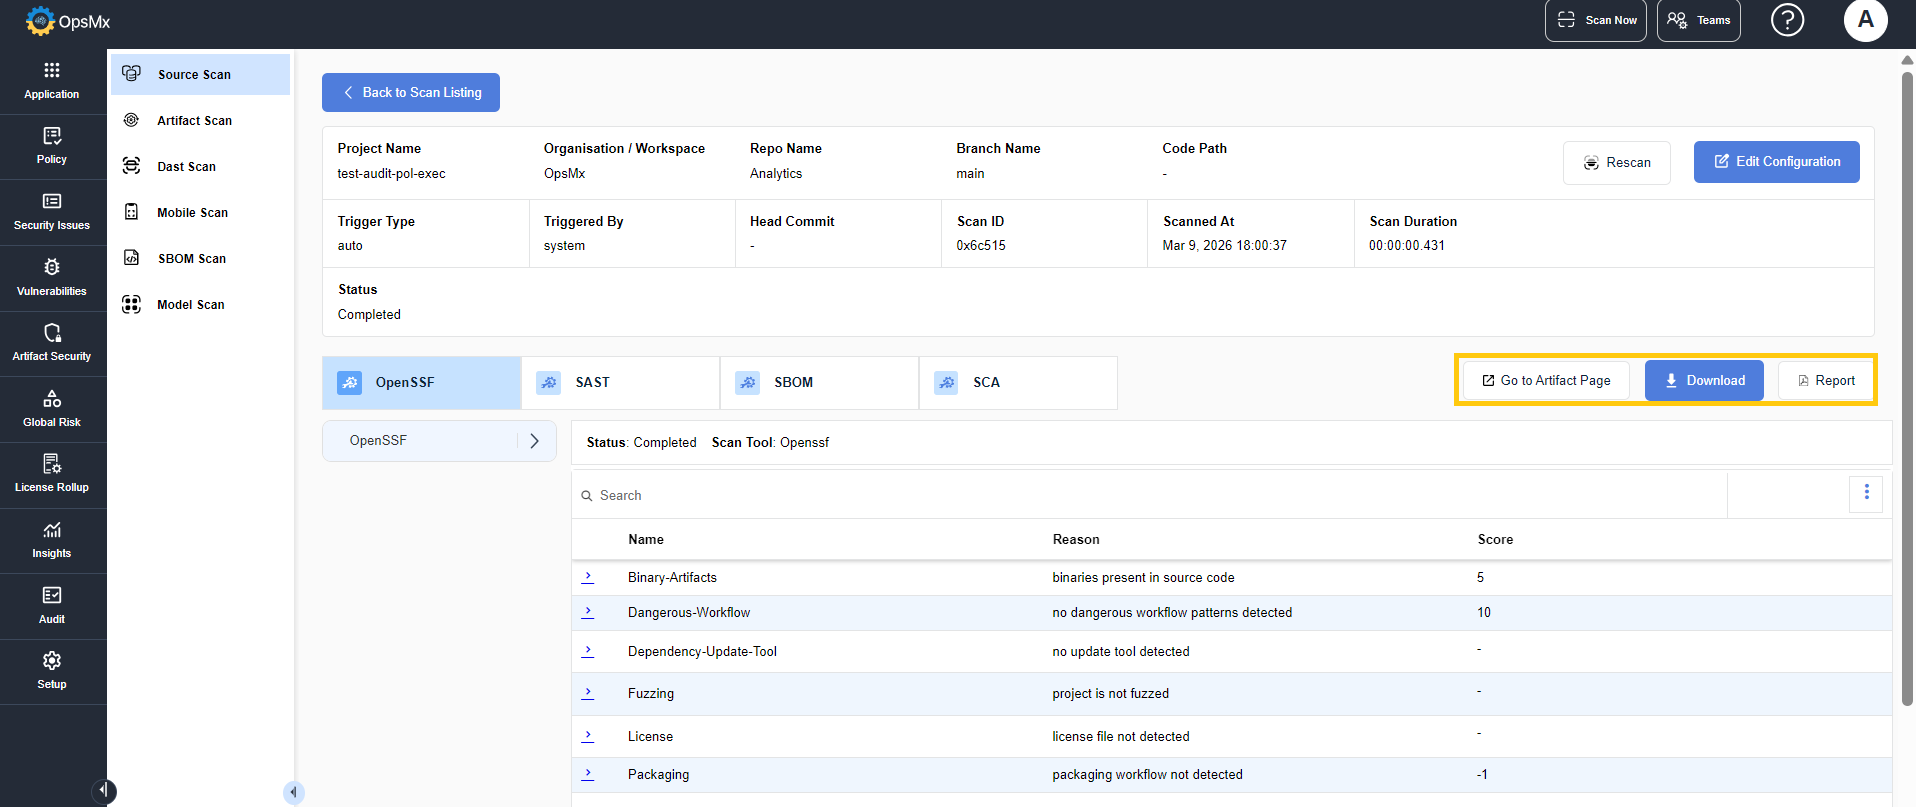
* The results page displays the complete data of the scan details.
* On clicking the **Download** button, the scan results are downloaded in .json or .csv format.
* On clicking Report, the scan results are downloaded in a report format.
* On clicking Go to Artifact Page, you are redirected to the related artifact page.