> For the complete documentation index, see [llms.txt](https://docs.opsmx.com/llms.txt). Markdown versions of documentation pages are available by appending `.md` to page URLs; this page is available as [Markdown](https://docs.opsmx.com/isd-spinnaker/opsmx-intelligent-software-delivery-isd-platform-spinnaker/user-guide/manage-pipelines/add-stage.md).
# Add Stage
You have now created a blank pipeline, as described in the previous section. After creating the pipeline, you need to add a stage to it. A stage in a pipeline is the set of actions you want the pipeline to take while executing it.
The first stage of any pipeline is the configuration stage in which you can add a stage and set up the parameters. Follow the steps below to add the first stage.
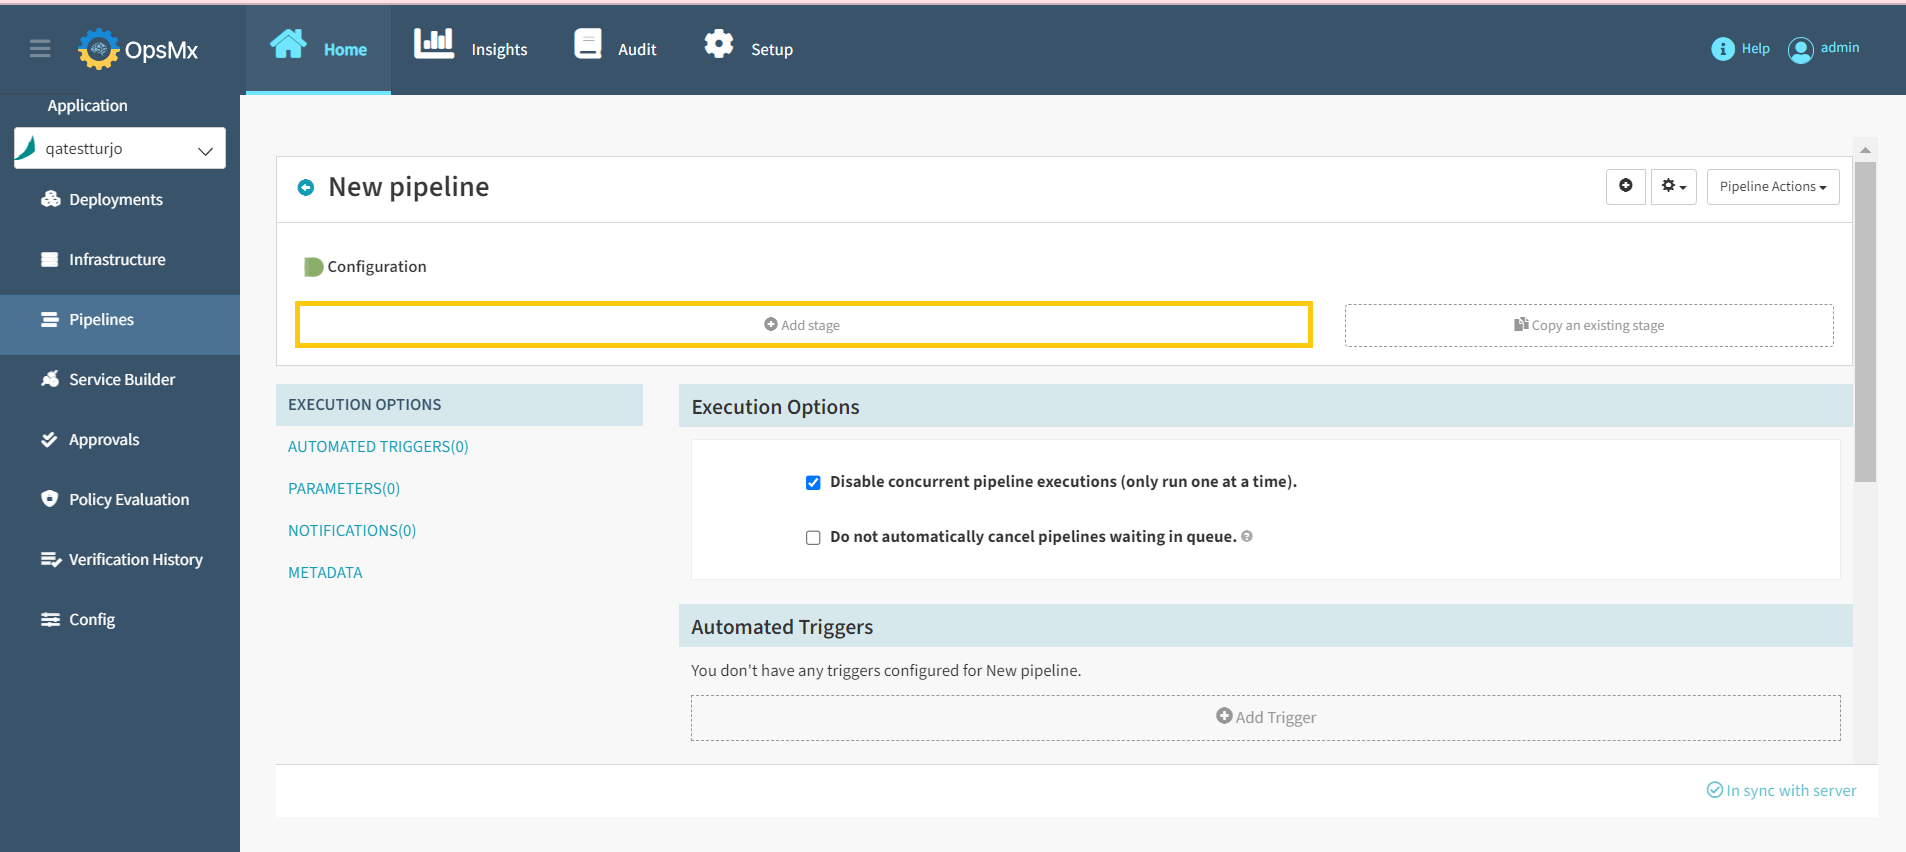
1. Click **Add Stage** button to add a stage for the created pipeline.
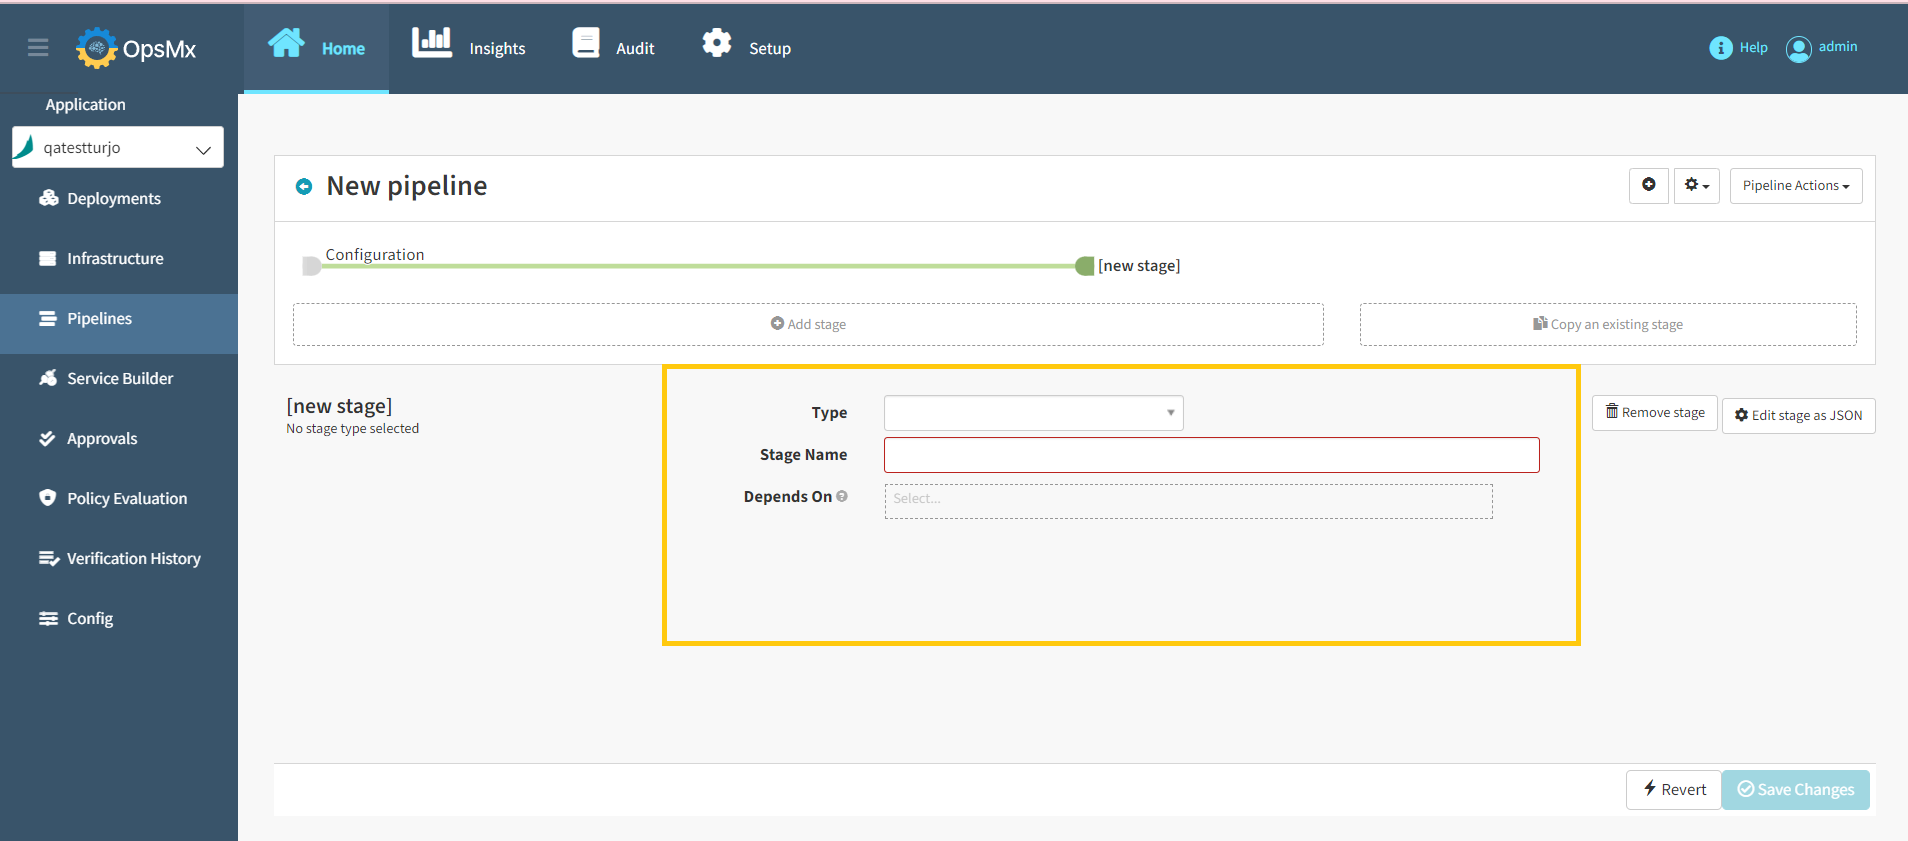
2\. When you click the **Add Stage** button, you can select many different types of stages that ISD supports.
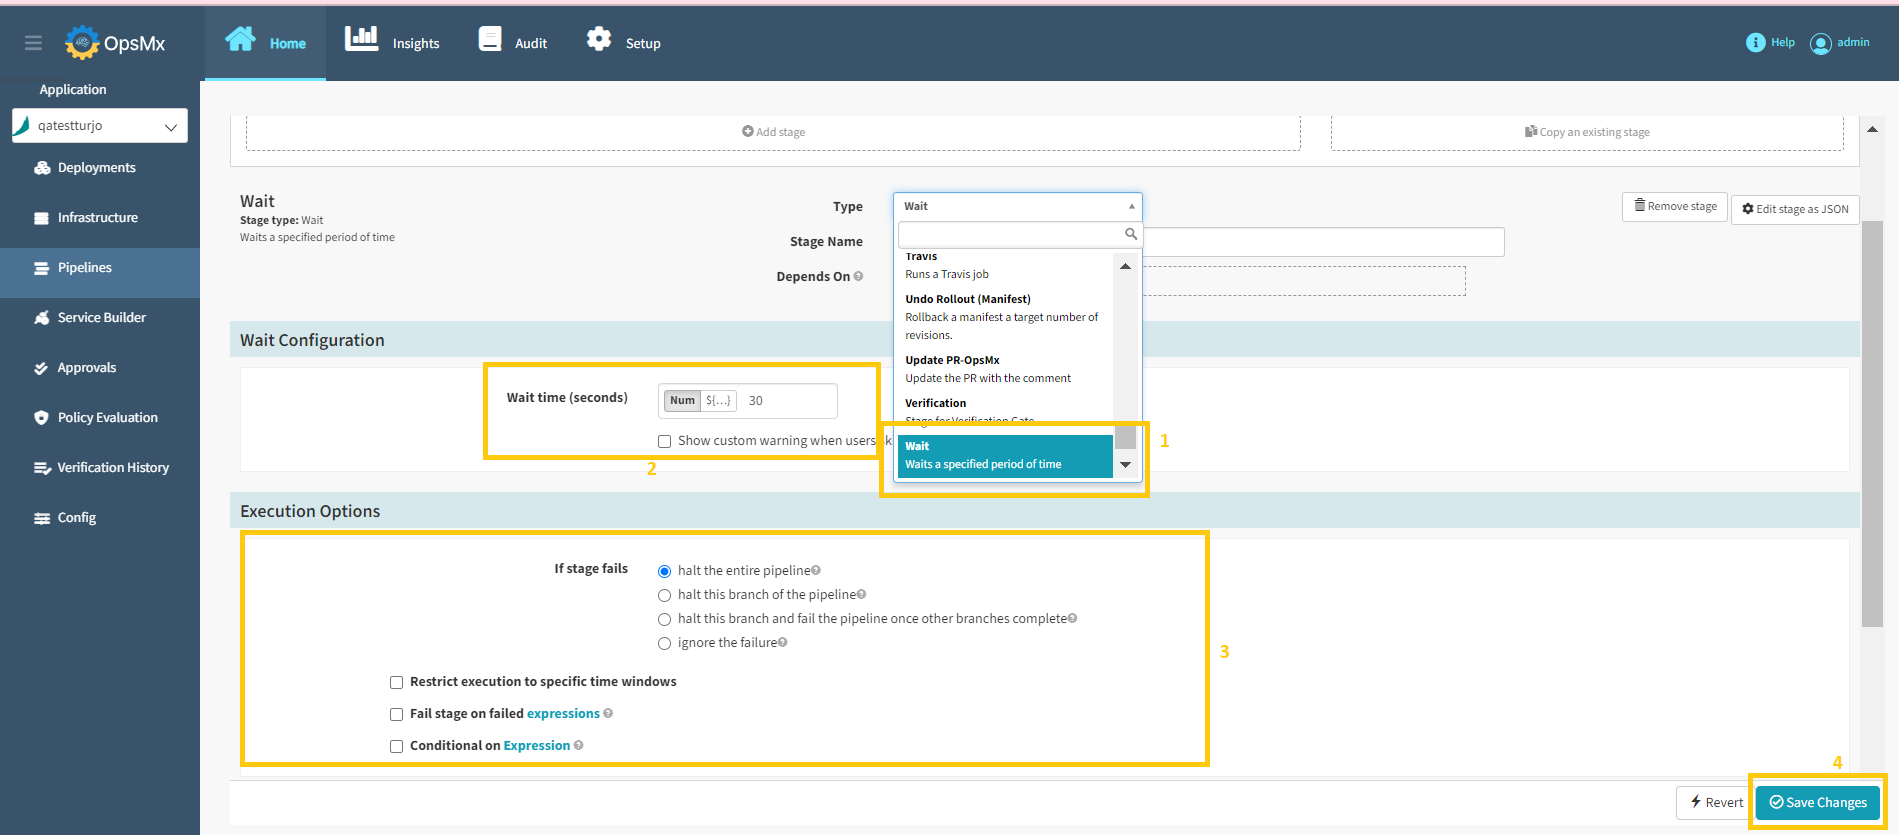
3\. Select the stage type as **Wait** from the drop-down menu and the configuration options will be displayed. Provide the **Stage Name** and enter value for **wait time(In Seconds).** Select the **Execution option** and then click **Save Changes**.
{% hint style="info" %}
**Note**: Configuration options may differ depending on the stage selected. We've shown an example of the "Wait" stage here.
{% endhint %}
Now the **Wait** stage is added successfully. You can add as many stages in the pipeline as needed, in any order, as per your requirement. Next, we'll look at how to [**add a trigger**](https://docs.opsmx.com/user-guide/manage-pipelines/add-trigger) and [**run a pipeline**](/isd-spinnaker/opsmx-intelligent-software-delivery-isd-platform-spinnaker/user-guide/manage-pipelines/run-pipeline.md) to it.