> For the complete documentation index, see [llms.txt](https://docs.opsmx.com/llms.txt). Markdown versions of documentation pages are available by appending `.md` to page URLs; this page is available as [Markdown](https://docs.opsmx.com/integrations/integrating-other-tools-in-delivery-shield/email.md).
# Email
Email is a communicating platform used in organizations.
### Usage of Email in Delivery Shield
* **Real-time Notifications** - Delivery Shield can send notifications to a designated user or group through Email whenever a new security issue is detected. This ensures that the team is promptly informed and immediate action is taken.
### To Manage Email:
1. Navigate to **Setup** > **Integrations**.
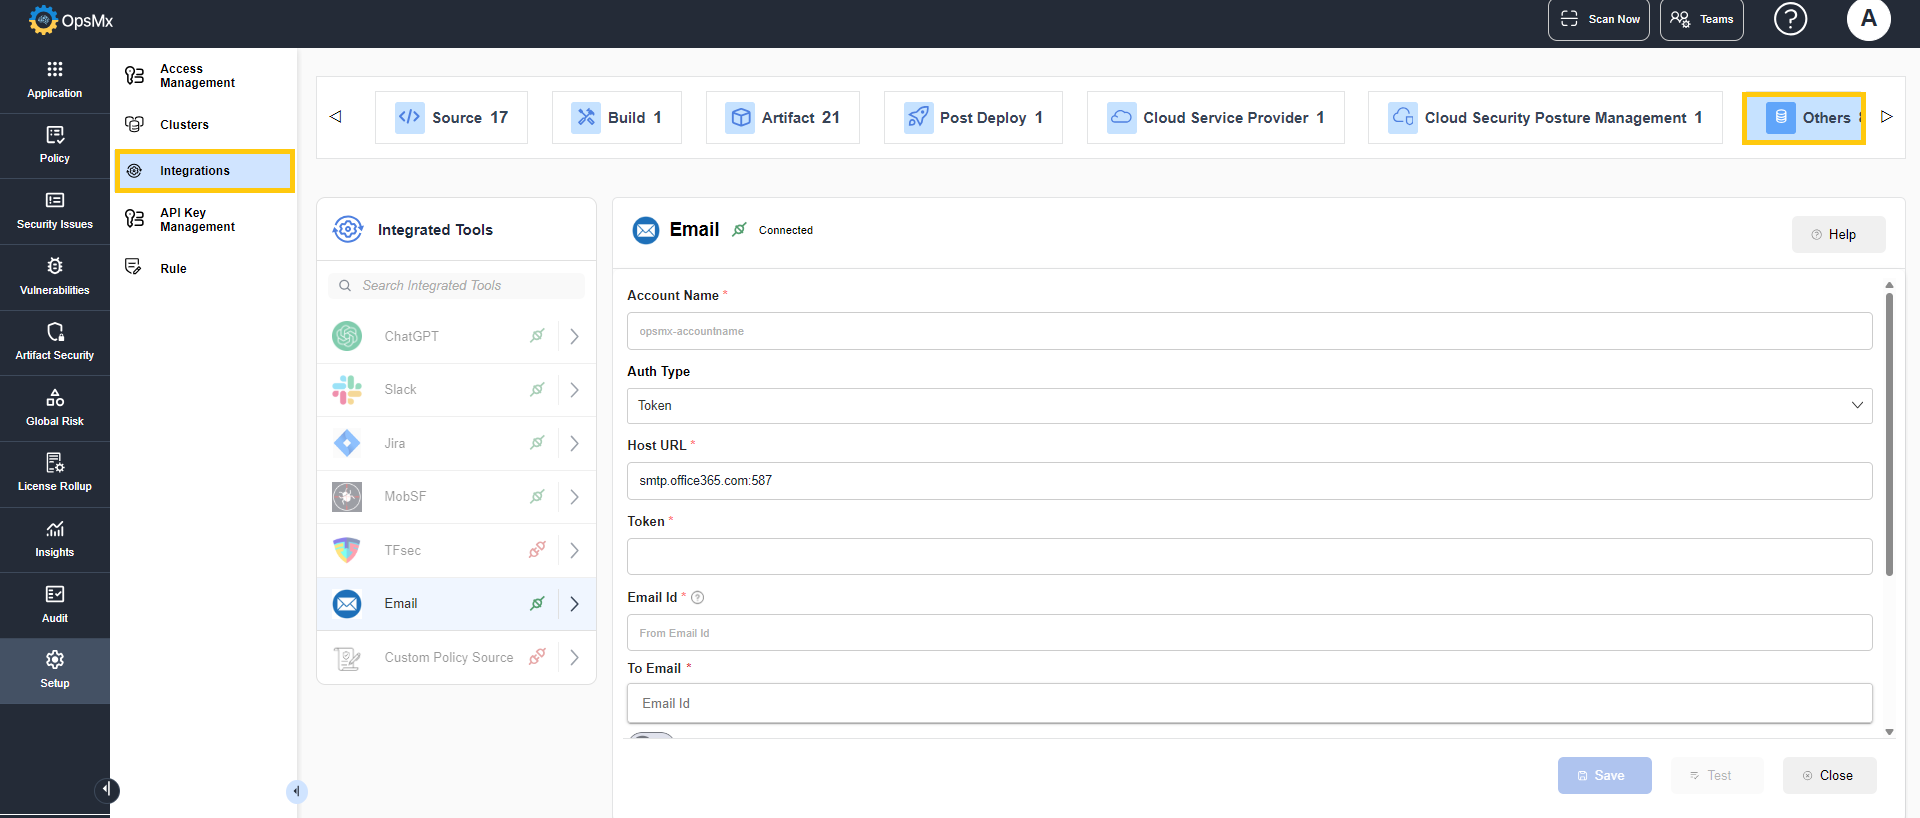
2. In the **Others** panel, click **Email**.
3. The Email integration page is displayed. Click **+New Account**.
4. In the popup that appears, enter the following details:
5. Enter the **Account Name**, **Auth Type**, **Email Id,** **To Email**.
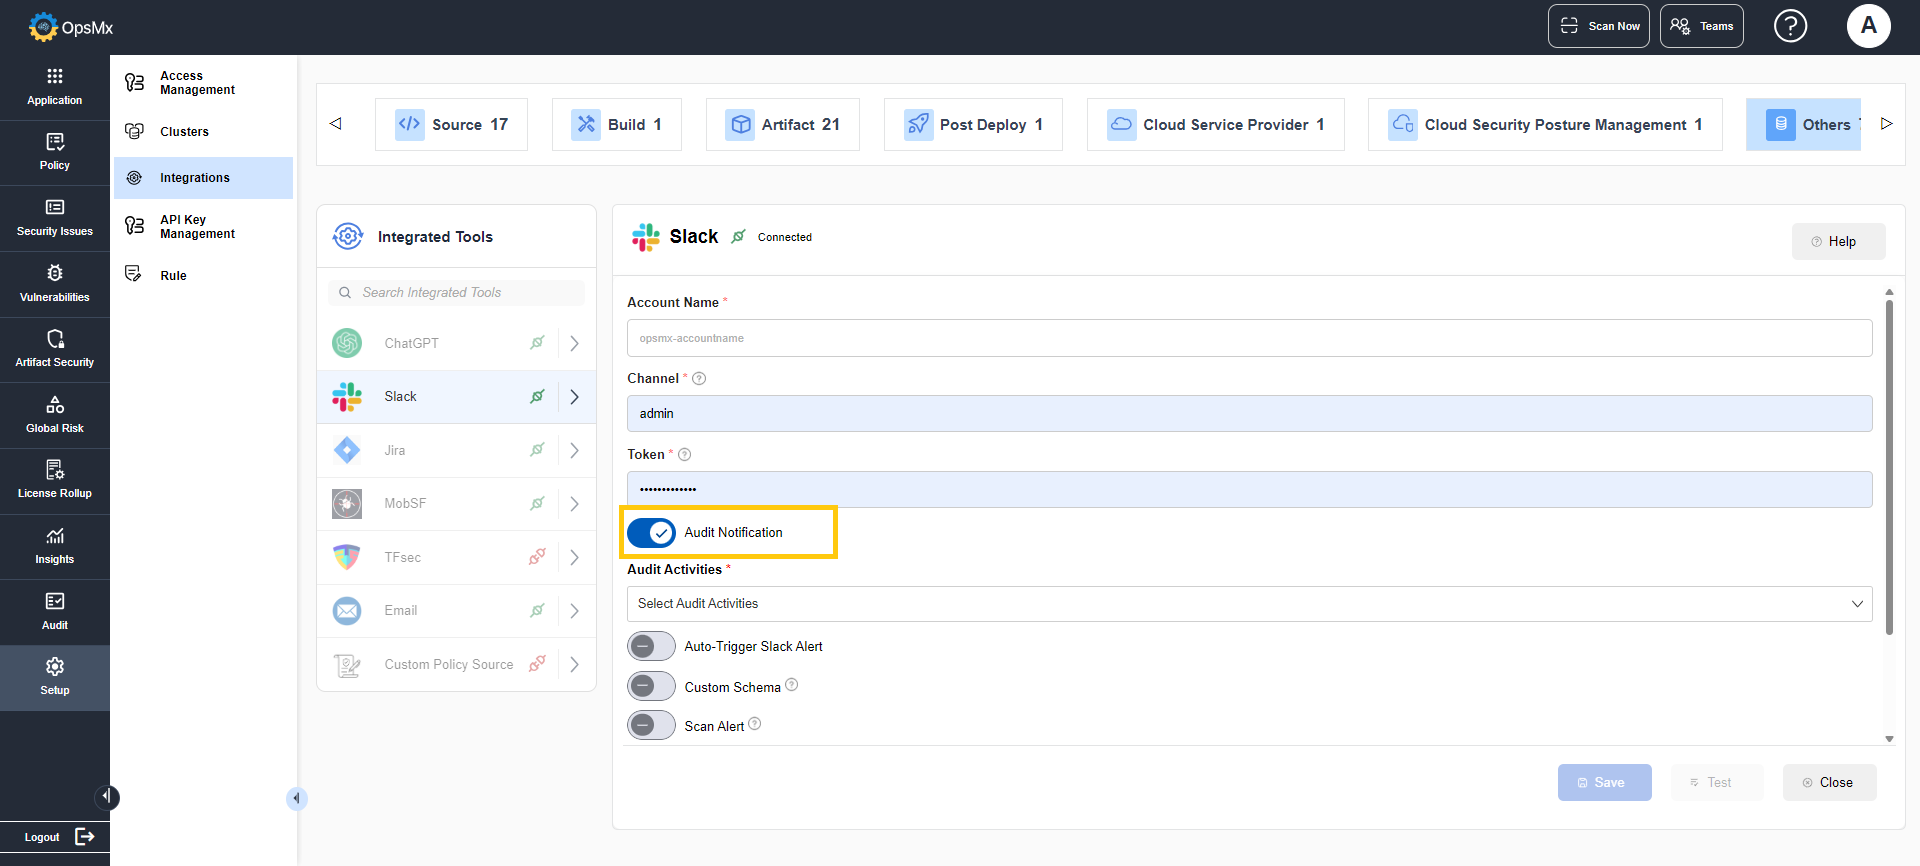
6. Enable **Audit Notification** to send audits for the selected activities through emails.
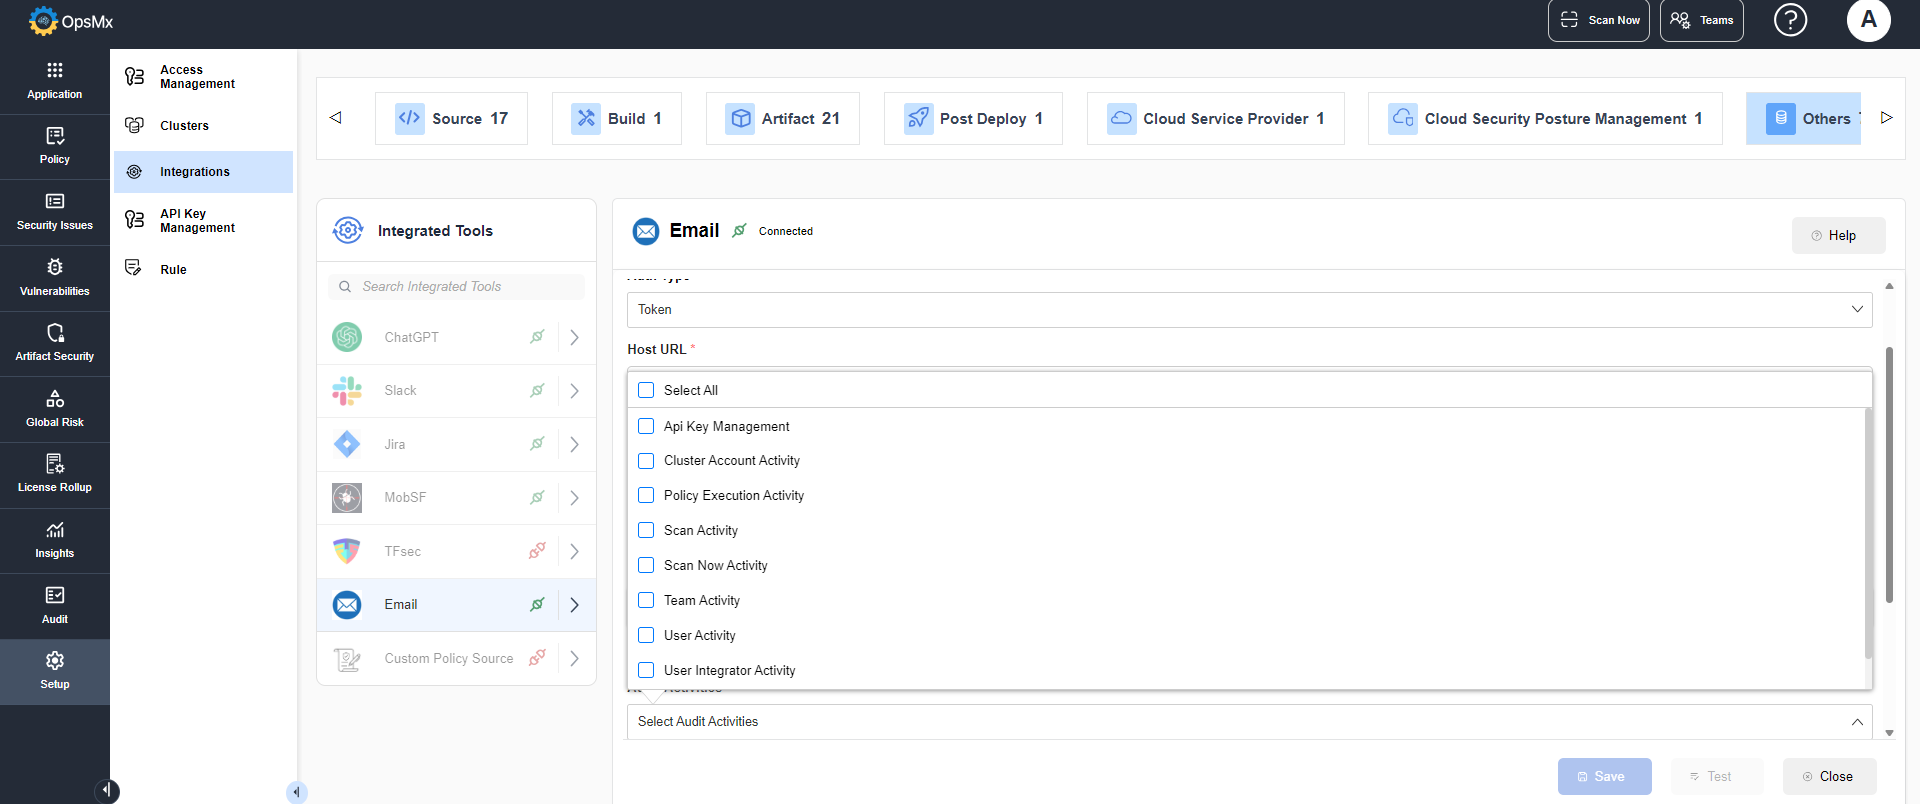
8. Select all the activities from the Audit Activities dropdown, for which notifications need to be sent.
9. Click Save to configure the integration.
10. Select the **Teams** and the corresponding **Environments** from the dropdown for which you want the integration to be available. The integration will be available for the selected teams and environment only.
{% hint style="info" %}
You can select up to 5 teams for the integration to be displayed.
{% endhint %}
* A sample is given below for reference:
* In the example above,
* if **Team 1**, **Team 2**, and **Team 3** are selected, only applications associated with these teams can access the integration. Any applications belonging to other teams, such as **Team 4**, will not have access to this account.
* Even if the user who created this account is also an admin for **Team 4**, the integration account remains restricted and is not available for **Team 4**.
* Access to the account is strictly limited to the specified **Teams** and **Environments** selected during account creation.
* **For Organization Admins:**
* When an **Organization Admin** creates an account without selecting specific **Teams** and **Environments**, the account will be universally applicable, granting access to **all teams** and **all environments** by default.
* **For Team Admins with Multiple Teams:**
* If a **Team Admin** who manages multiple teams creates an account without specifying particular **Teams** and **Environments**, the account will only be accessible to the teams for which the logged-in user holds admin privileges.
3. Click **Save**. The tool is connected.
4. You can edit the entered values by clicking the **Edit** option in the **Actions** column.
5. Re-enter the values and click **Update**.
The new values gets updated.