> For the complete documentation index, see [llms.txt](https://docs.opsmx.com/llms.txt). Markdown versions of documentation pages are available by appending `.md` to page URLs; this page is available as [Markdown](https://docs.opsmx.com/administration/manage-teams-and-access.md).
# Manage Teams and Access
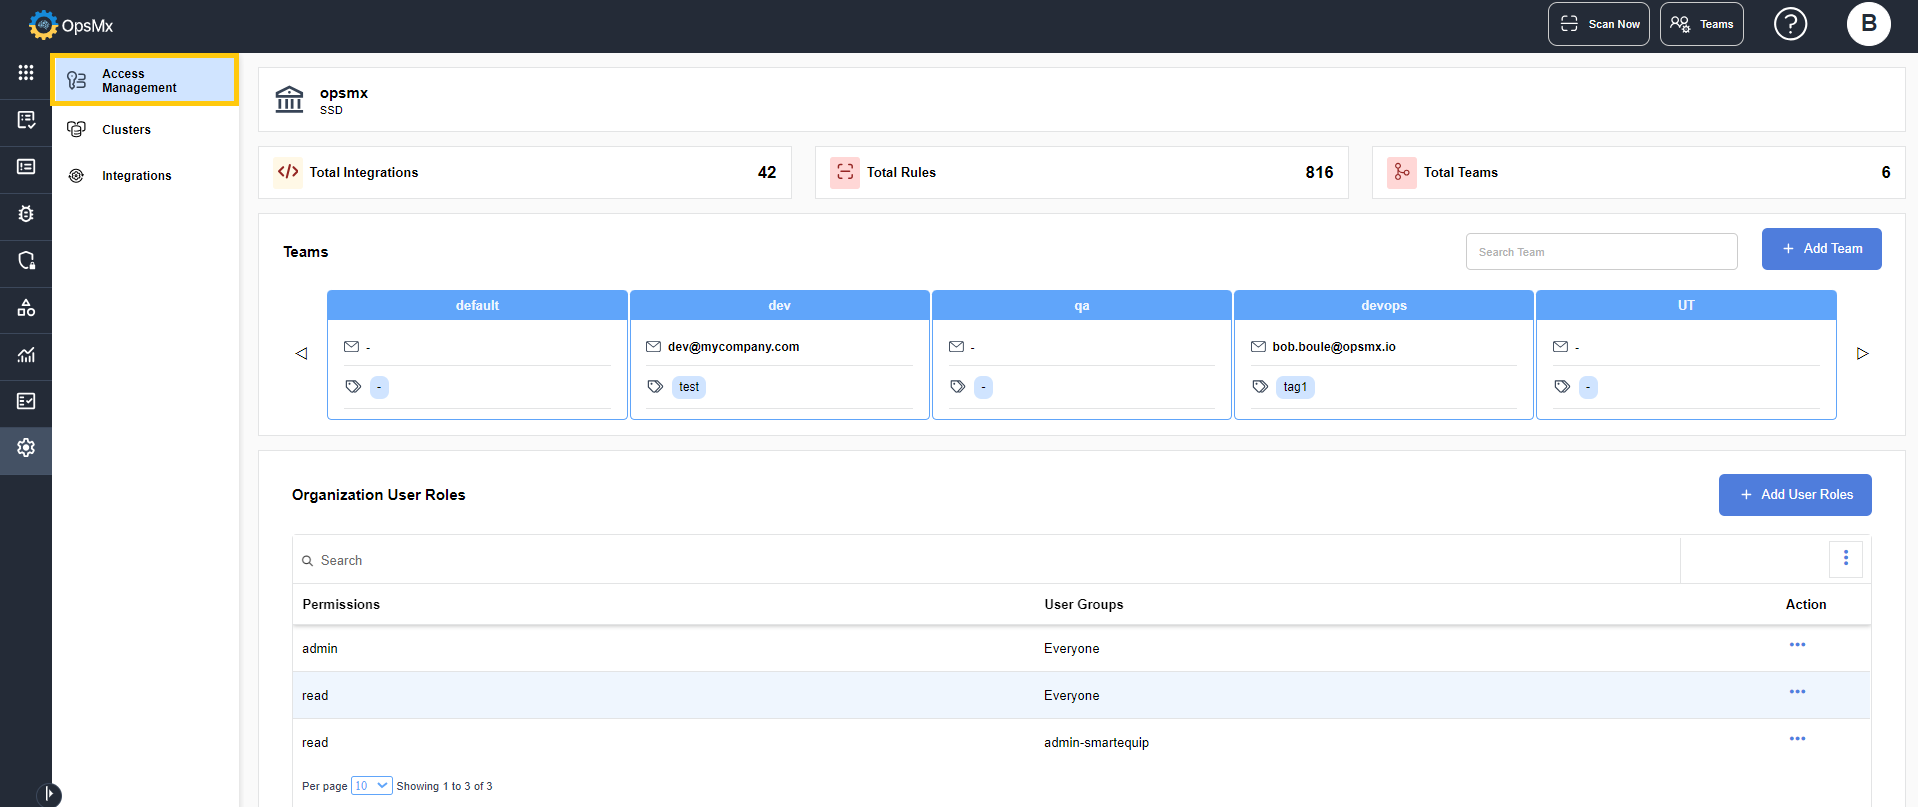
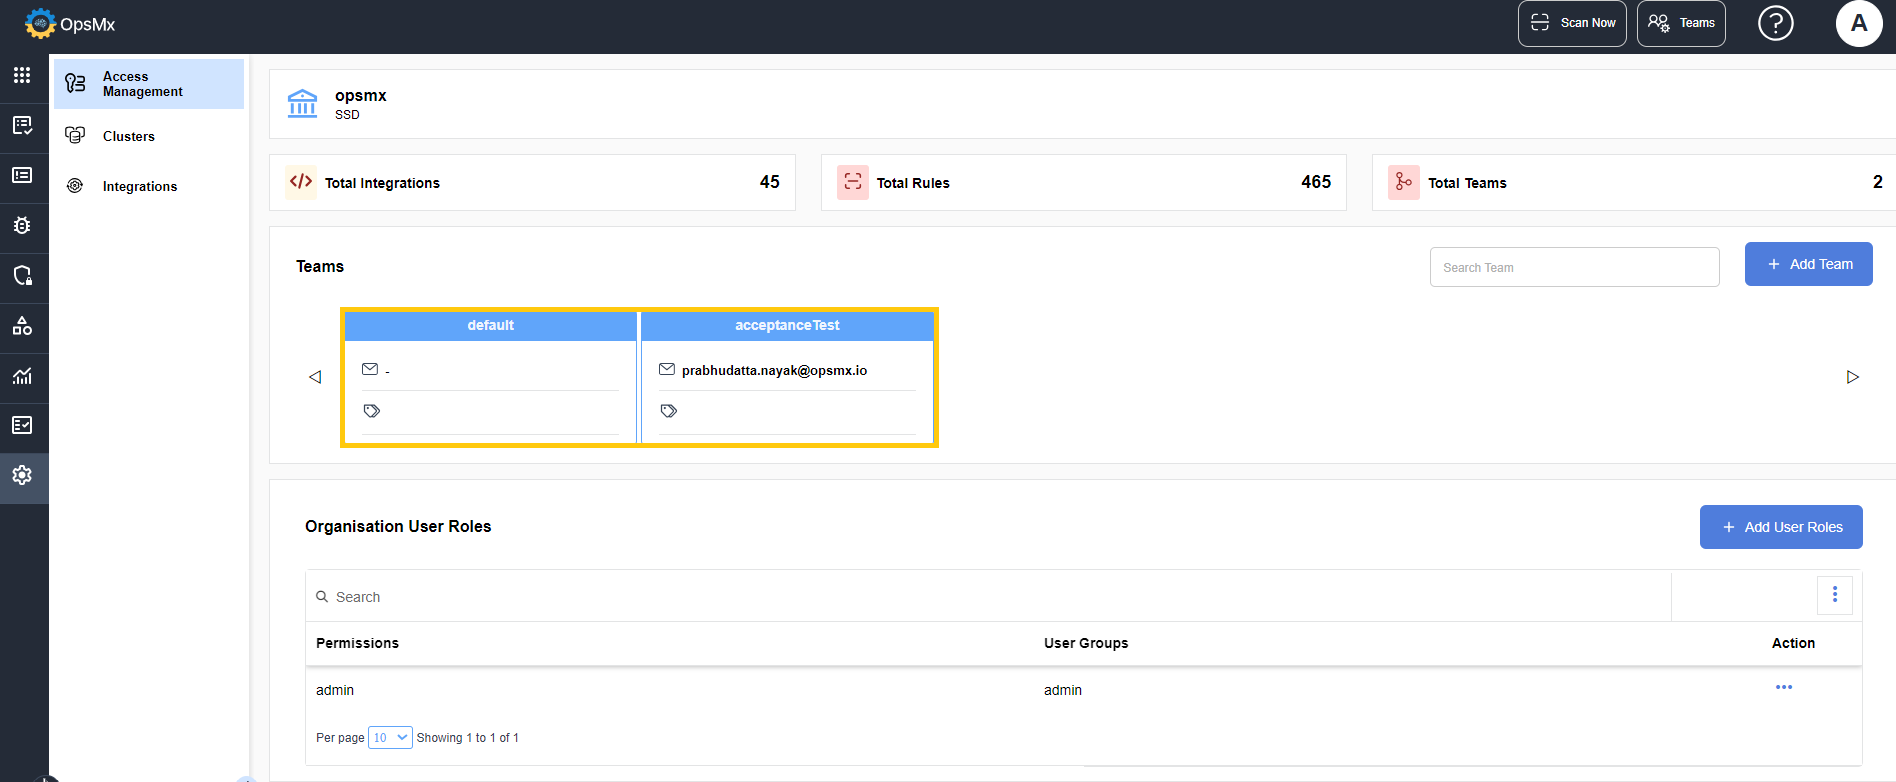
The **Access Management** page displays the organization settings. You can view all the teams created in the organization and the user roles assigned to the teams.
Navigate to **Setup** > **Access Management**. The Access Management page is displayed.
* The resources panel displays the total number of integrations, rules and teams associated with each group.
* The **Teams** panel displays the different teams available in the application.
* The **Organization User Roles** panel displays the different user groups available in the application.
You have options to create teams or groups and add users to the groups, thereby giving different access permissions to the added users.
### To Create New Team
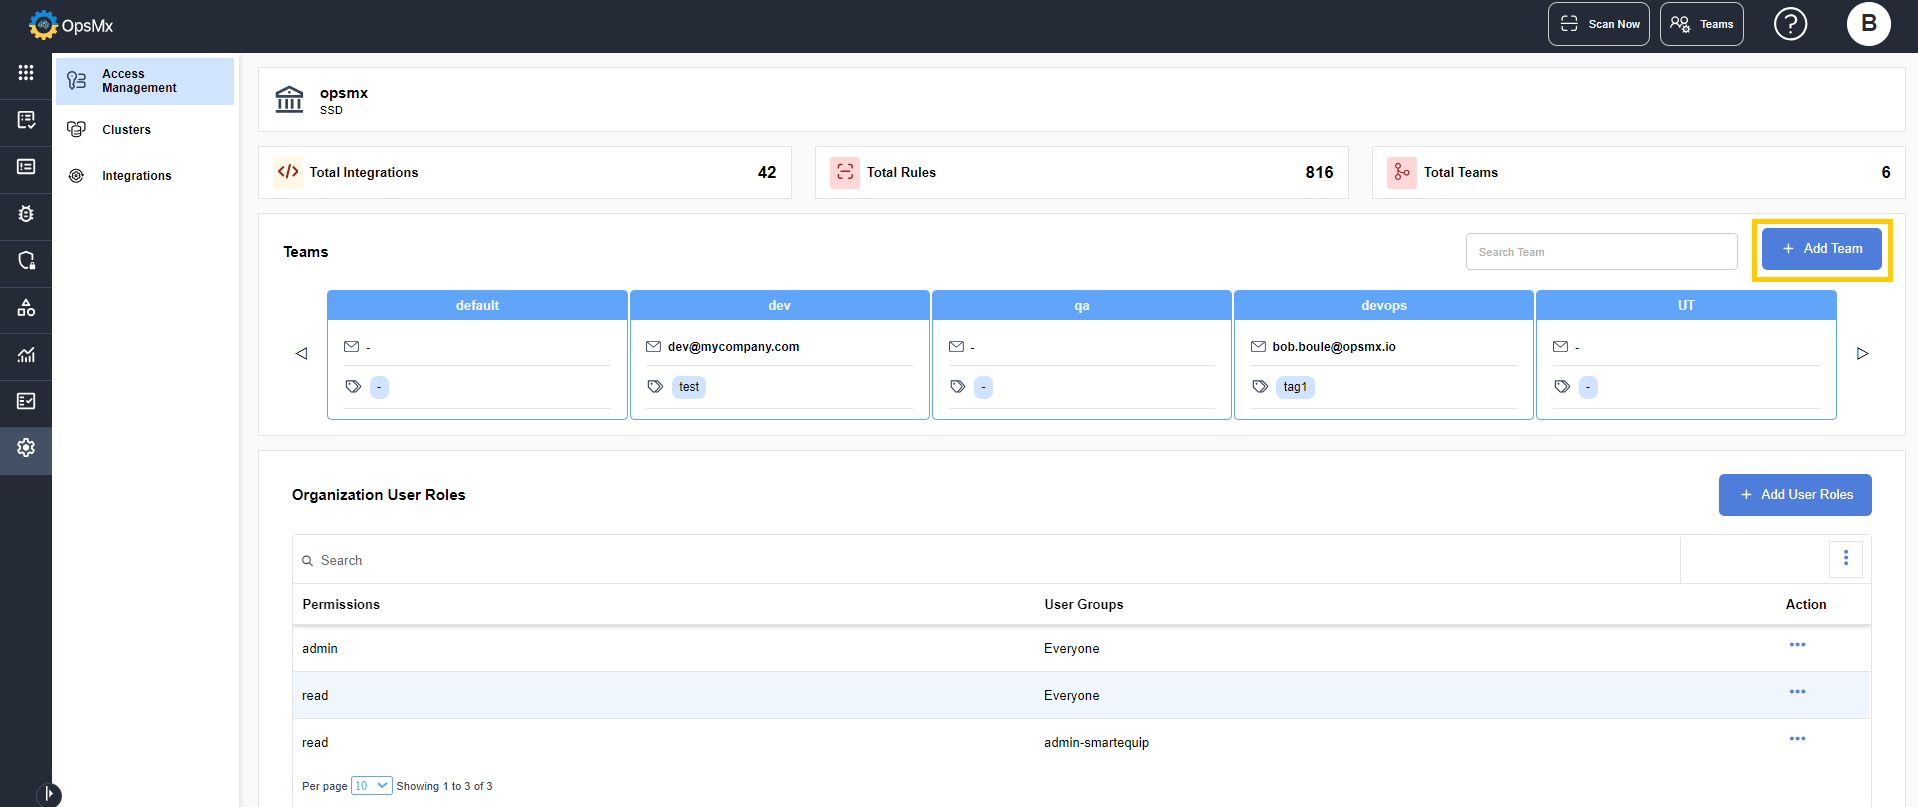
1. Click **+ Add Team**.
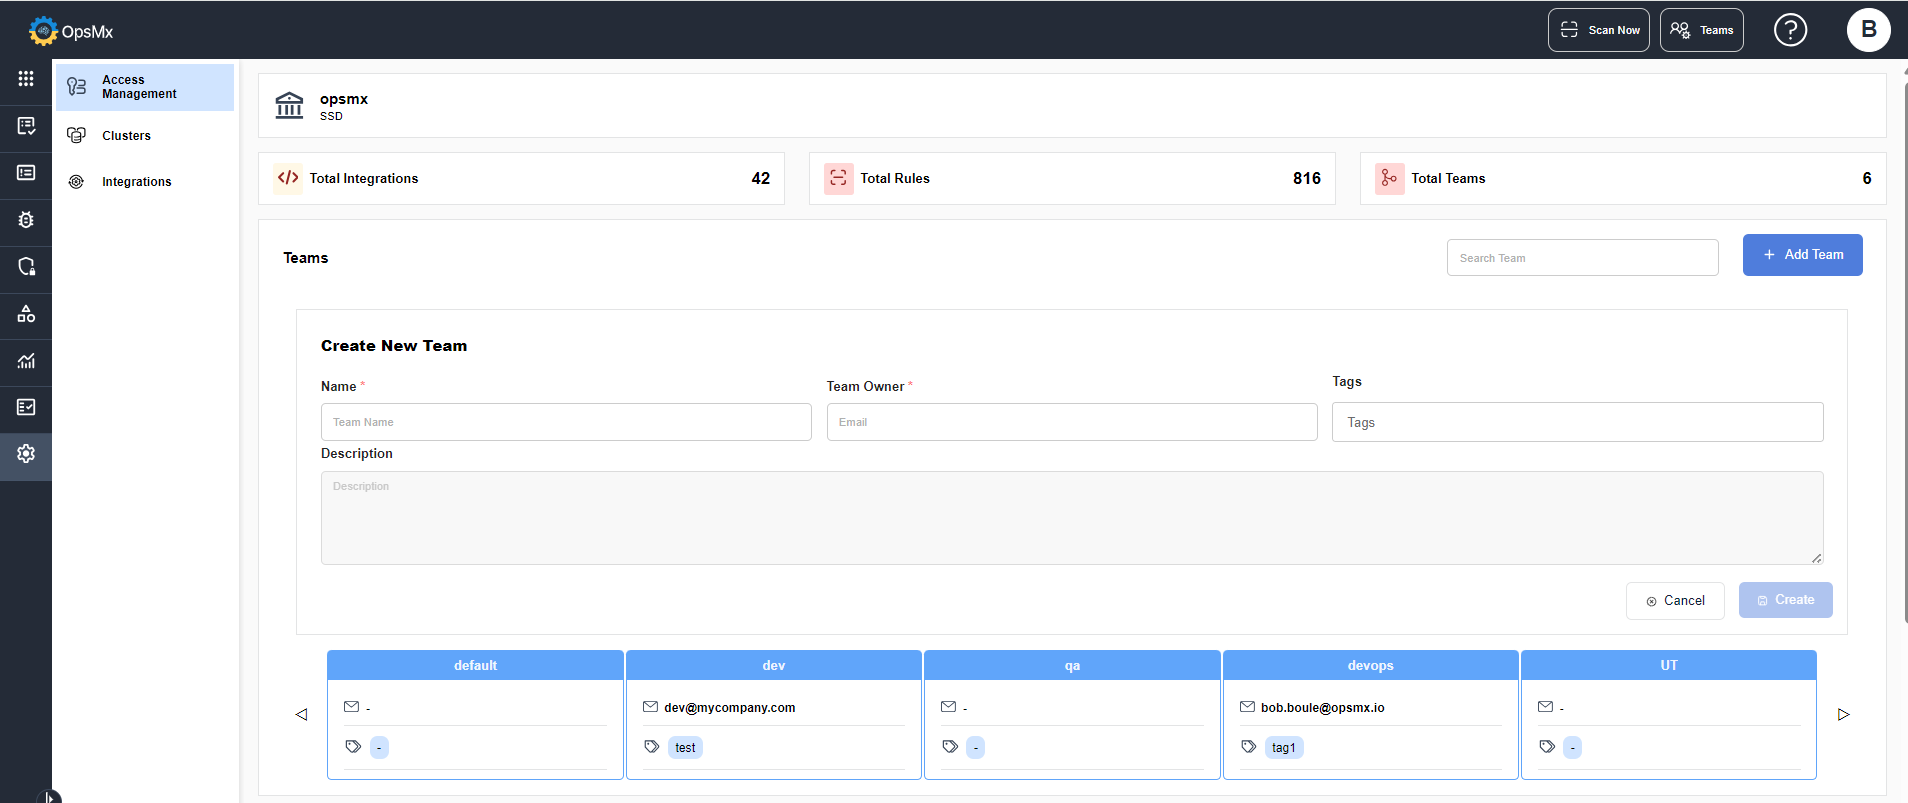
2. An expanded row appears as shown below:
2. Enter the required details as shown:
1. **Name** - Enter a name for the team.
2. **Team Owner**- Select the owner for the team.
3. Add related tags to the team. The tags are used to distinguish between the teams in an application.
3. Click **Create**.
The team is created.
### To Add User Roles
You can add user roles to the created teams.
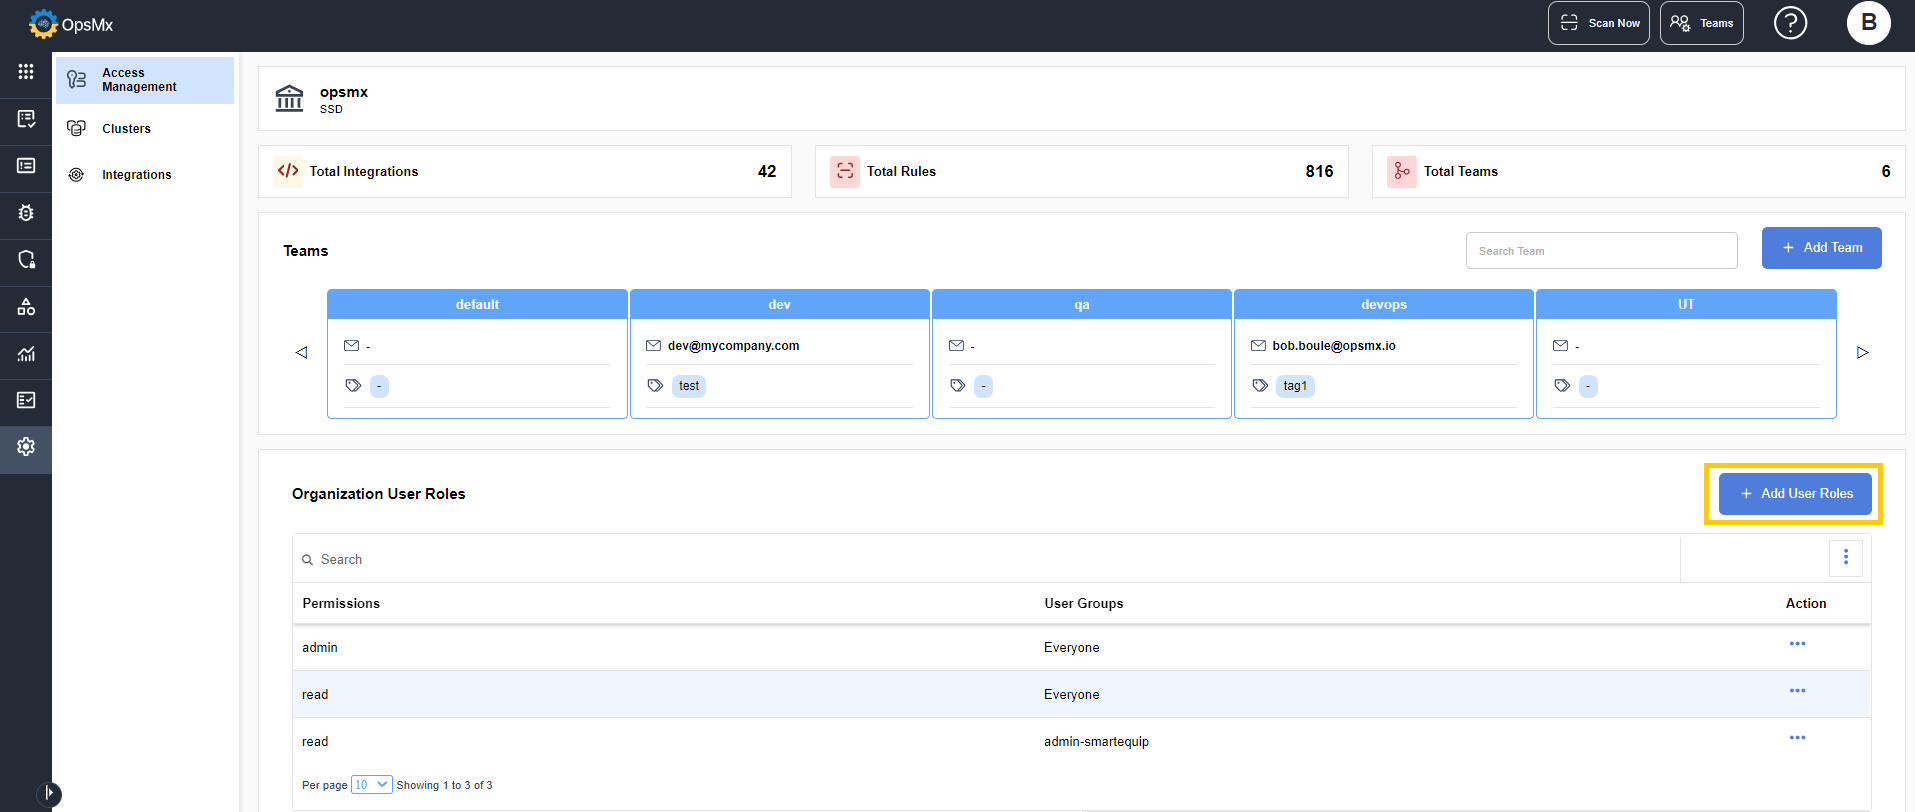
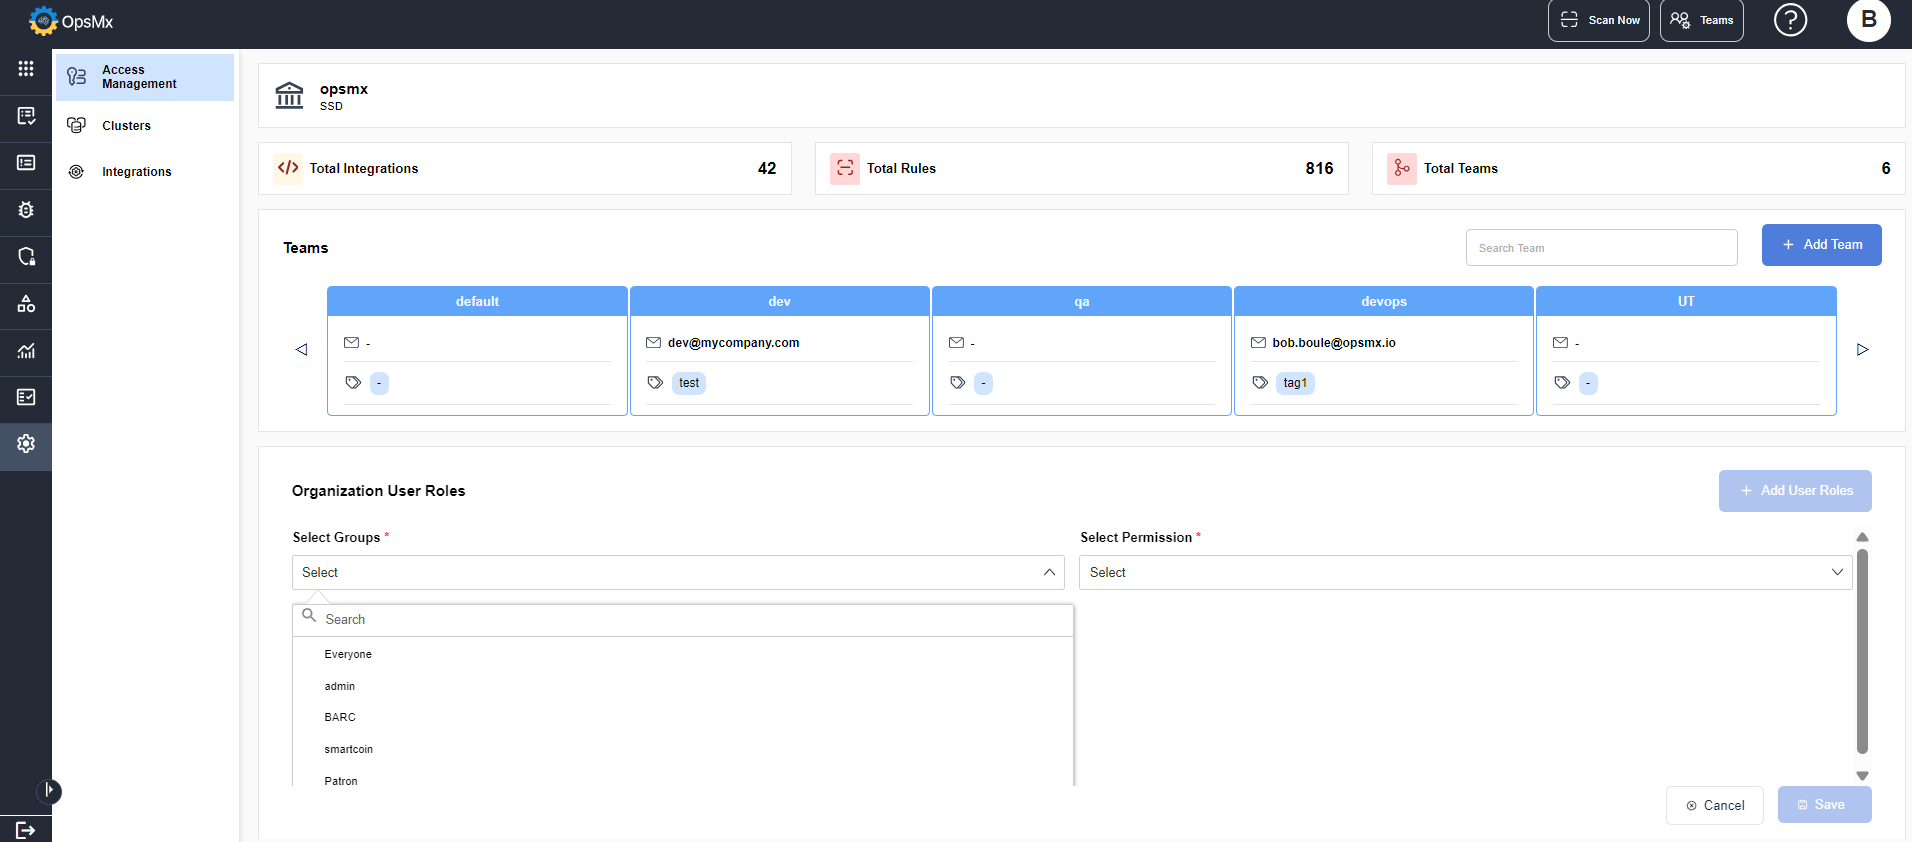
1. Click **+ Add User Role**.
2. An expanded row appears as shown below:
2. Select the group from the **Select Group** dropdown to which you want to grant permissions.
3. Select the required permissions from the **Select Permission** dropdown that you want to assign to the added group. You can give either **read** (access to only view the applications) or **admin** (access to view and modify the applications) access to the users.
4. You can select **Custom** to provide permissions for selected projects, integrations, policies, exceptions, alerts, cluster, license and teams.
5. Click **Save**.
The user role gets updated.
{% hint style="info" %}
The user roles can be added at the organization level and team level.
{% endhint %}
### To Edit a Team
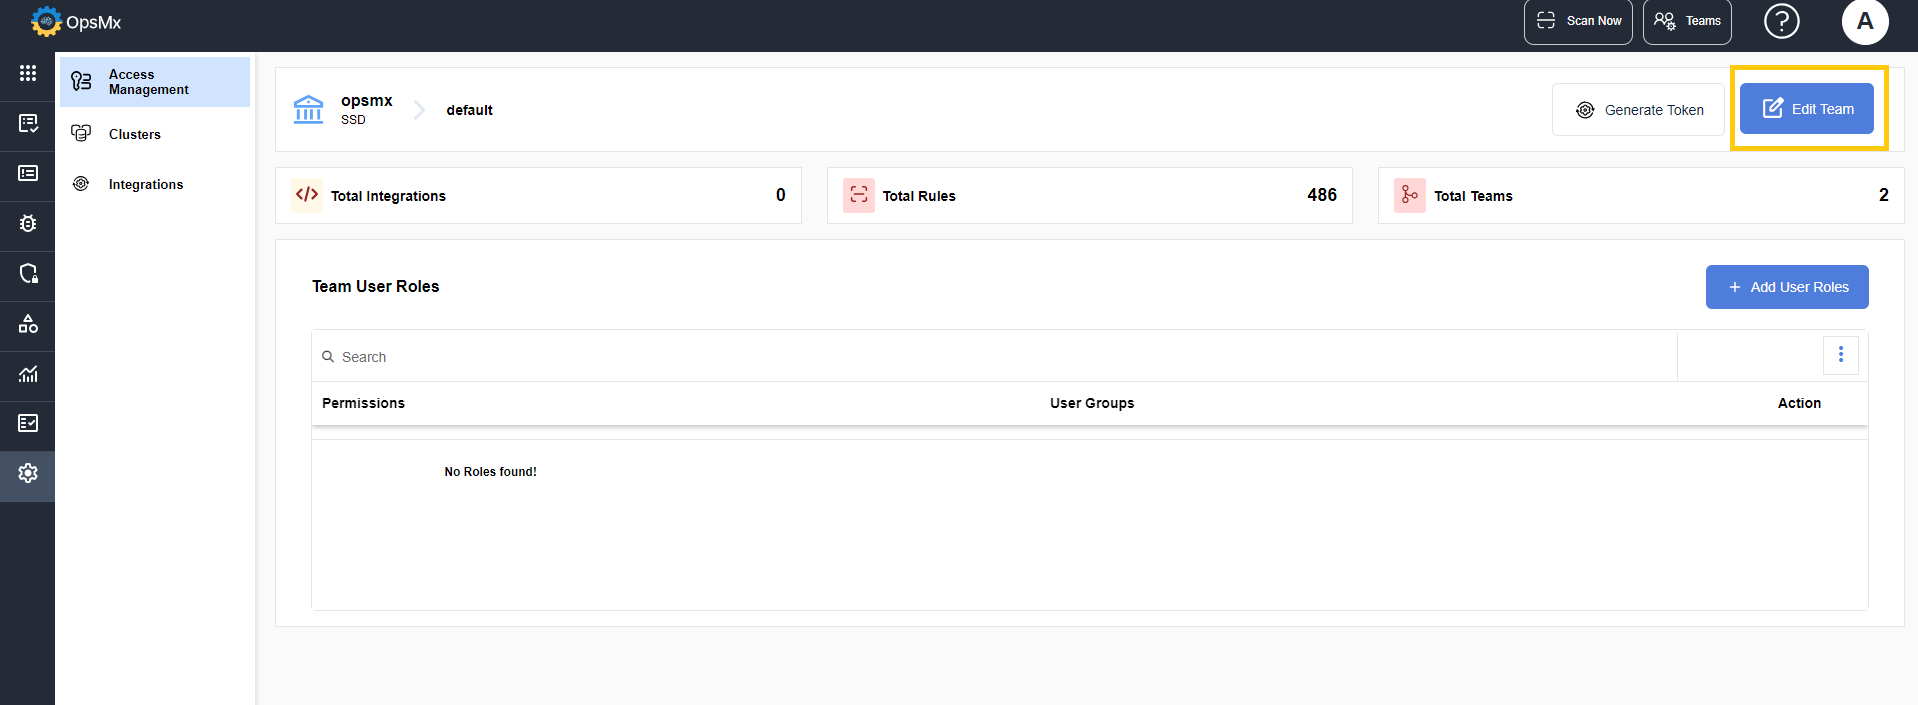
1. Select the team that you want to edit and click on it.
2. In the page that appears, click **Edit Team**.
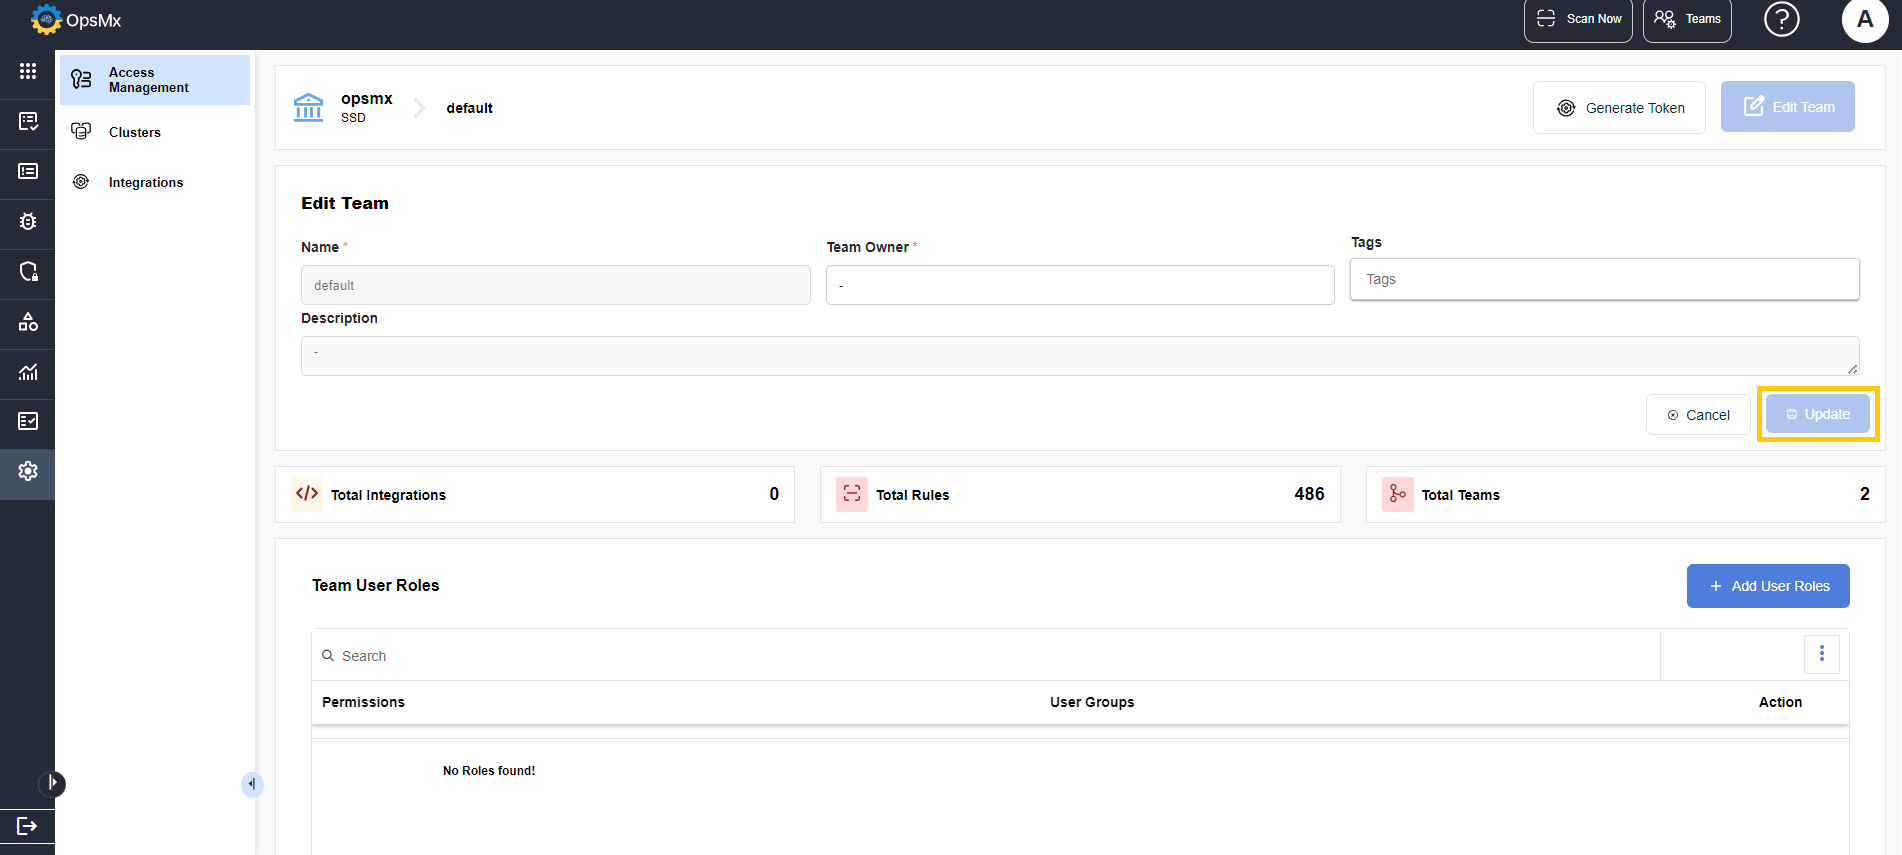
3. Edit the details as needed and click **Update**.
The new details get updated.
### To Generate Token
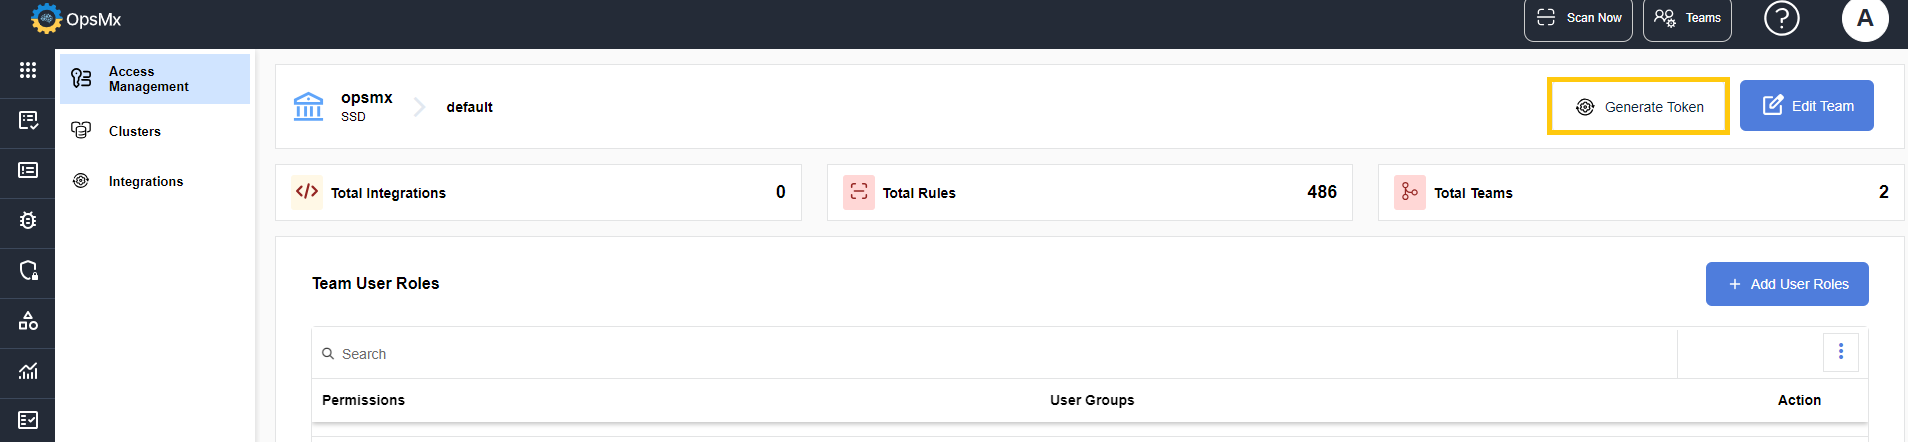
1. Click on the name of the **Team** (given as tabs in the Teams panel) for which you want to generate token as shown below:
2. The details of the **Team** along with its **User Roles** are displayed.
3. Click **Generate Token** button as shown below:
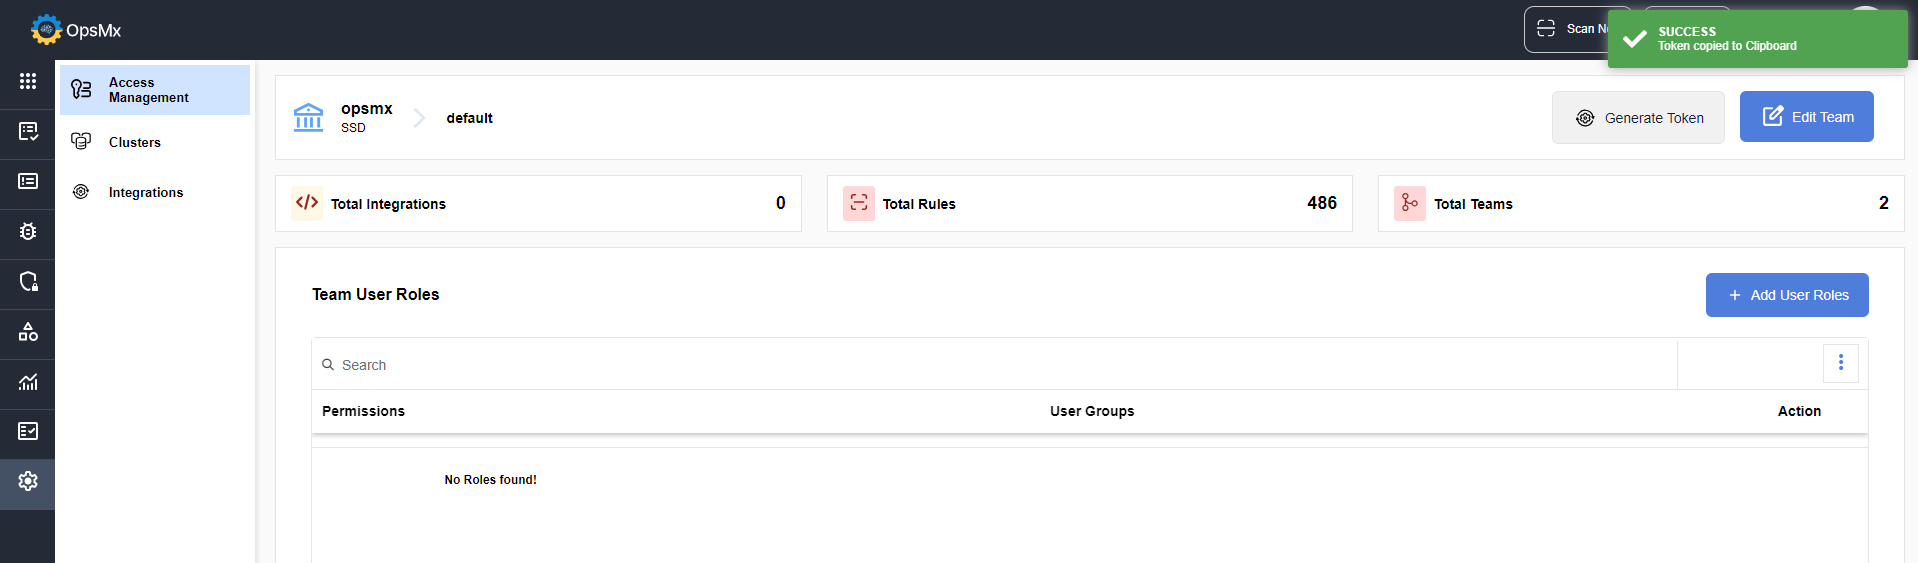
A token is created and a success message is displayed as shown:
{% hint style="info" %}
The generated token is provided in the Jenkins plugin to integrate Delivery Shield with it, inorder to connect the applications to the respective teams. To know more, see [Jenkins](https://docs.opsmx.com/opsmx-delivery-shield-platform/getting-started/integrating-ci-and-cd-tools-in-delivery-shield/jenkins).
{% endhint %}